


In July, during a spell of very stable, warm weather, I climbed the Grimming via the north route for the first time in a long while.
Because the route on the north side is technically demanding, and neither the heat nor the risk of rockfall should be underestimated, it’s best to set off very early.
Some people recommend setting off at 5 a.m. or even earlier in summer. However, this also depends greatly on your own walking and climbing pace. I set off at around 6 a.m. myself.
You also need to be comfortable with steep trails, via ferrata sections up to grade A/B, and a few climbing passages rated UIAA Grade I. Sure-footedness and a good head for heights are essential too.
Tip: Facebook can sometimes provide a useful indication of the current conditions. The search function can help you find useful posts from hikers who may have recently reached the summit and shared photos.
- Technical Difficulty and Fitness Level
- Parking — Starting Point of the Tour
- Ascent through the Stribinggraben (GPX track for the route)
- Grade A/B via ferrata at Lärchkogel
- Schartenkar
- Easy scrambling (UIAA Grade I) to the Toni Adam–Dr Obersteiner bivouac.
- Toni Adam–Dr Obersteiner bivouac – final section
- At the summit of the Grimming
- Descent and Return Route
- Sun Exposure
Technical Difficulty and Fitness Level
The route is officially rated “difficult” and initially follows T2 terrain through the forest and the Stribinggraben.
From there, an easy A/B via ferrata leads up to the Schartenkar, which you then cross on T3 terrain.
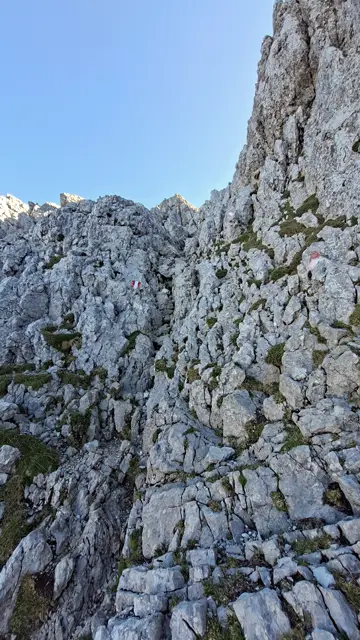
Beyond the Schartenkar, the route heads straight onto the rocks and climbs steeply towards the Toni Adam–Dr Obersteiner bivouac. The ascent involves numerous passages of UIAA Grade I scrambling, possibly with a few moves up to Grade I+, interspersed with sections of T4 and T5 terrain.
The final section eases off again, following T2 terrain to the summit cross. The A/B and Grade I sections in particular require focus and care: even a small mistake can have serious consequences. A helmet is also advisable because of the risk of rockfall.
Although the route is relatively short at around 9.5 km in total (up and back), you still have to climb about 1,370 metres, mostly over exposed terrain. I made the ascent at a brisk pace in about two and a half hours.
The descent along the same route also took about 2 hours and 20 minutes at a brisk pace. Because of the sustained steepness, it was almost more demanding than the ascent. My total walking time was about 4 hours and 50 minutes.
At a normal pace, you should allow around 7½ to 8 hours for the full route.
Parking — Starting Point of the Tour
The route starts in Kulm, beyond Kulmkogel and the Kulm ski flying hill. There are also plenty of free parking spaces for hikers there (as of July 2026).
Ascent through the Stribinggraben (GPX track for the route)
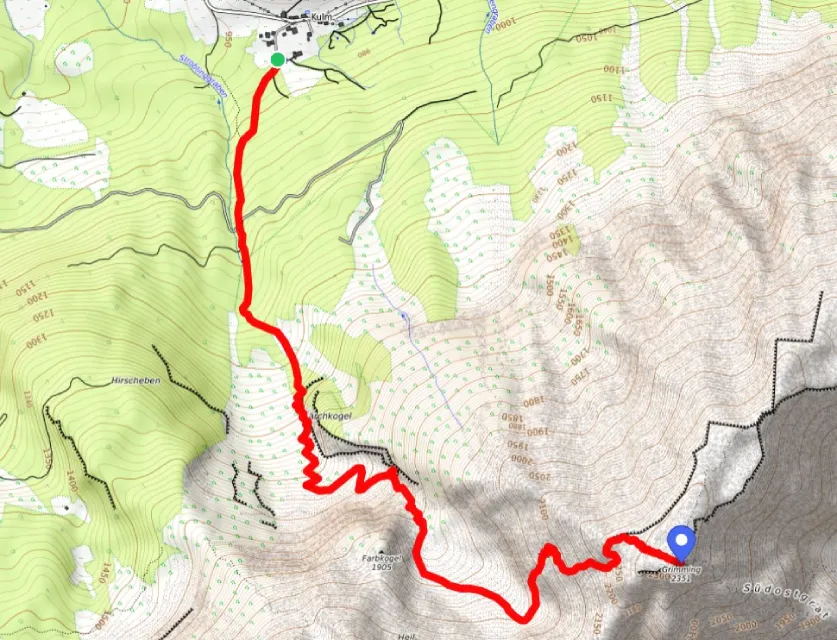
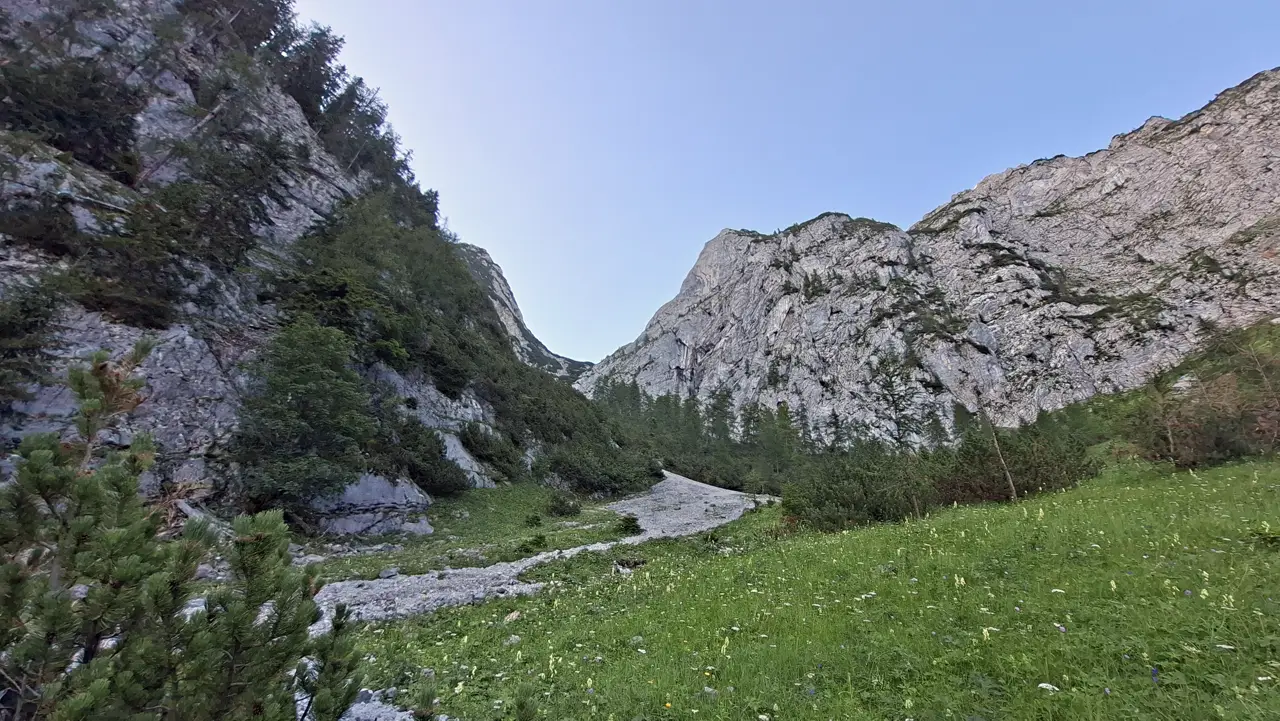
The route starts right at the car park. At first, Trail 683 climbs through the forest and the Stribinggraben for a while on relatively straightforward T1 and T2 terrain.
After about 1.5 km and 300 metres of elevation gain, you leave the forest. The route continues towards Lärchkogel on a very gravelly, rocky path, still on T2 terrain.
Because of the increased risk of rockfall, you should put your helmet on by this point at the latest.
Grade A/B via ferrata at Lärchkogel
After a long climb through fairly steep terrain, you reach the first crux sections near Lärchkogel: an A/B via ferrata leading into the Schartenkar.
I’d rate the via ferrata closer to B, as it includes several sections that are both exposed and secured with cables.
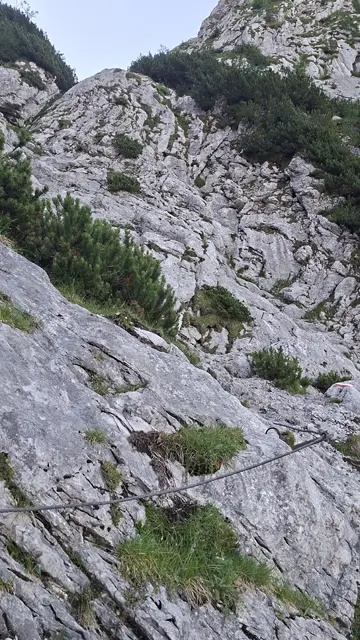
This section can be compared to some parts of the Naturfreundesteig on the Traunstein.
Mostly secured with cables, but still moderately challenging—closer to B than A. If you feel unsure, you can use a via ferrata set for extra security here.

Schartenkar
After the fairly demanding via ferrata, you reach the Schartenkar after a while and are immediately rewarded with a stunning panorama.
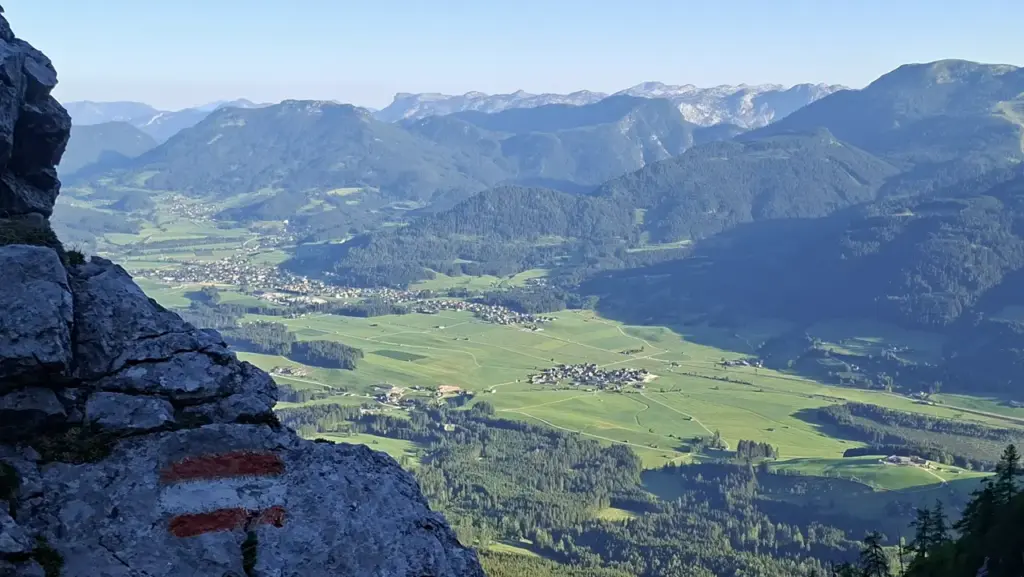
The next section is less demanding, but very steep and gravelly. The trail crosses much of the Schartenkar on T3 terrain.
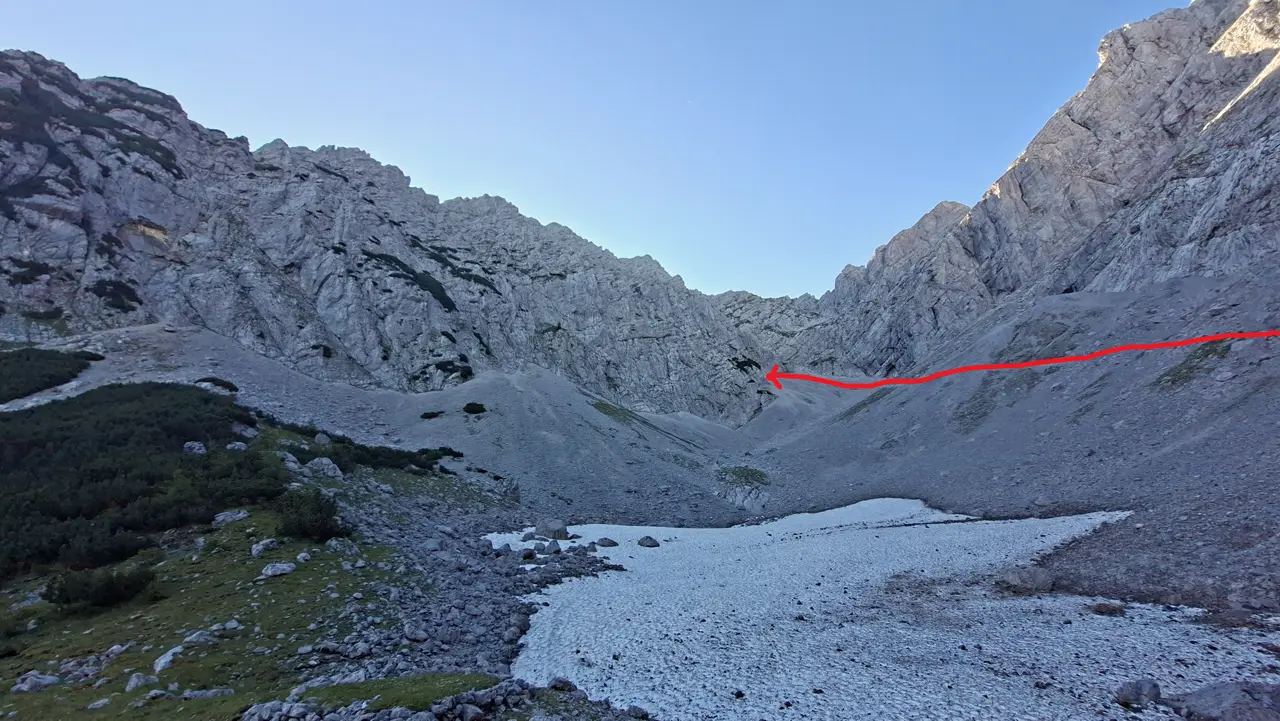
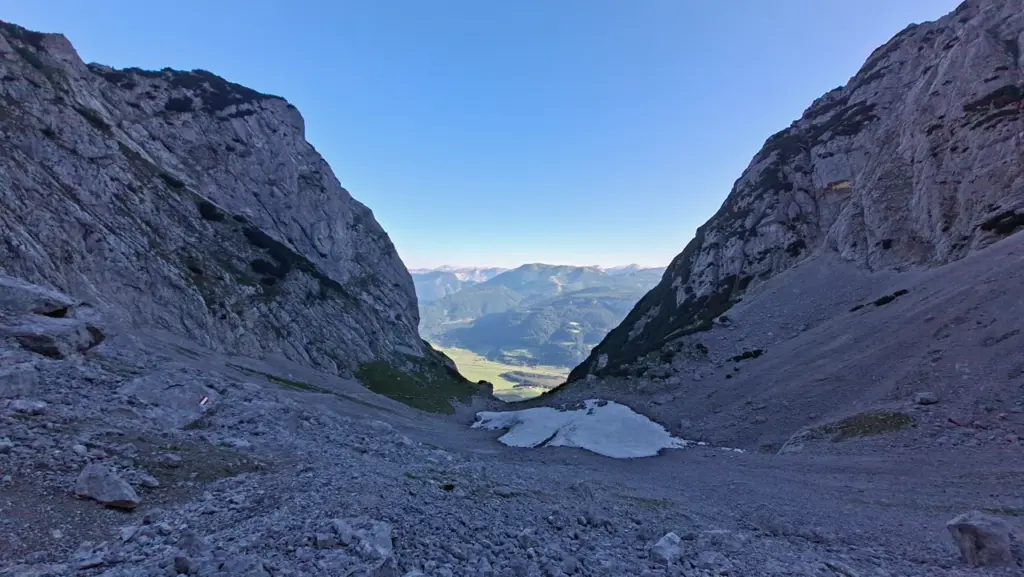
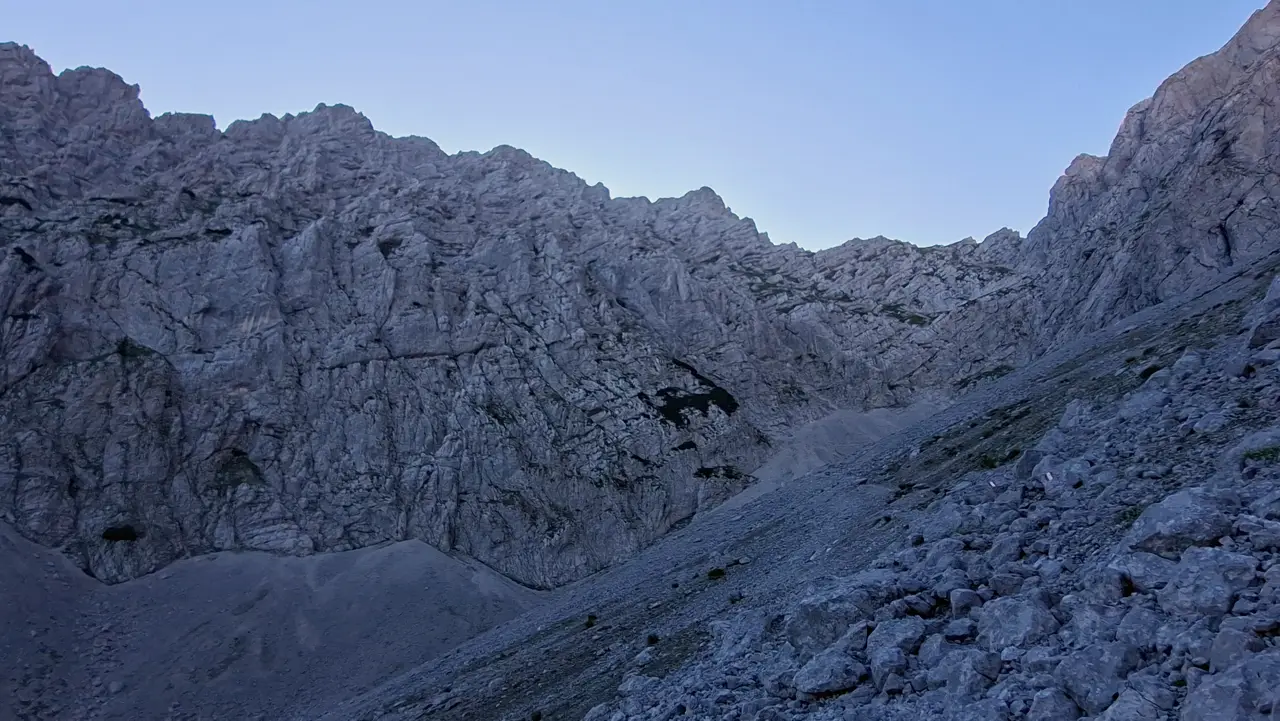
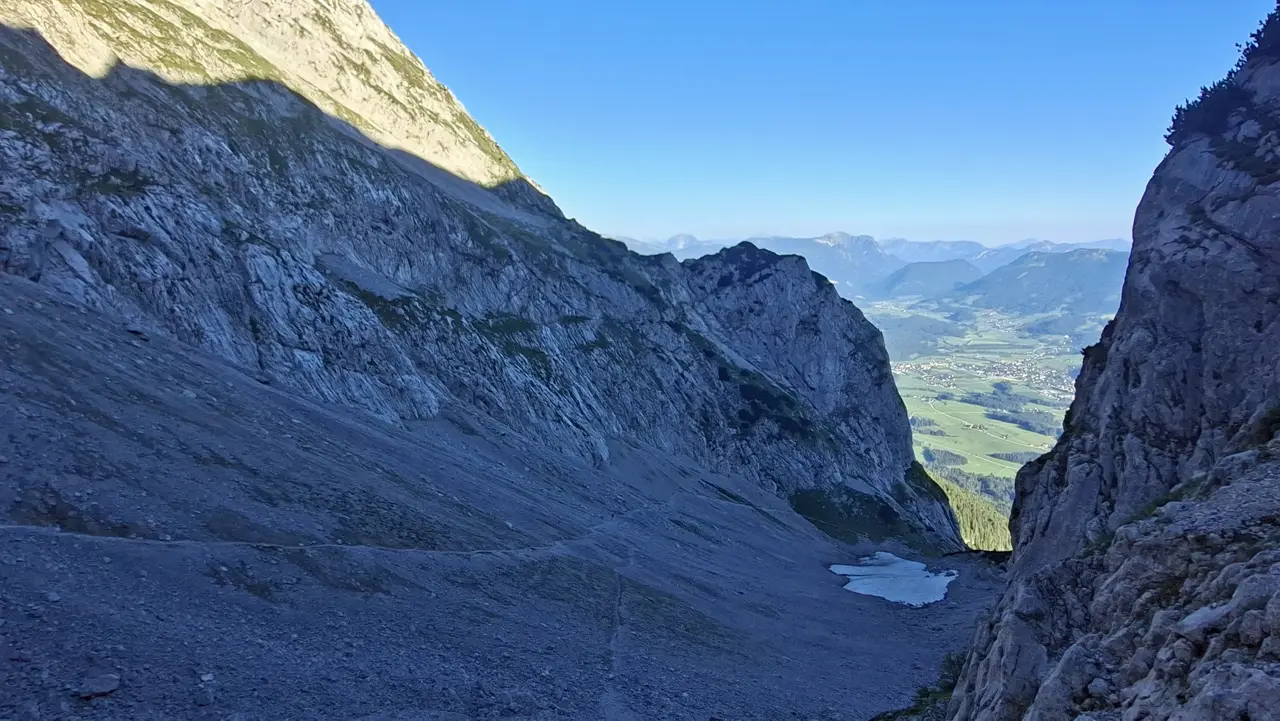
Easy scrambling (UIAA Grade I) to the Toni Adam–Dr Obersteiner bivouac.
A long, steep section with plenty of rocky terrain follows. It involves numerous easy, mostly unsecured scrambling passages rated UIAA Grade I (T4).
I’d even rate a few sections as UIAA Grade I+.
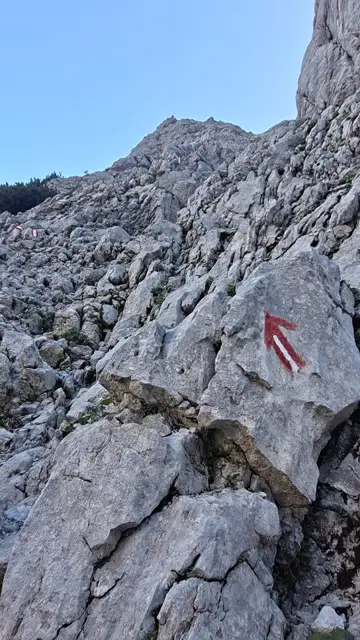
Take particular care with route-finding here. Stick closely to the trail markings, as the route crosses very exposed terrain.
As the route frequently changes direction and doesn’t climb continuously, it’s easy to miss an important trail marker.
Stay alert, and if in doubt, retrace your steps for a few metres to check the route again.

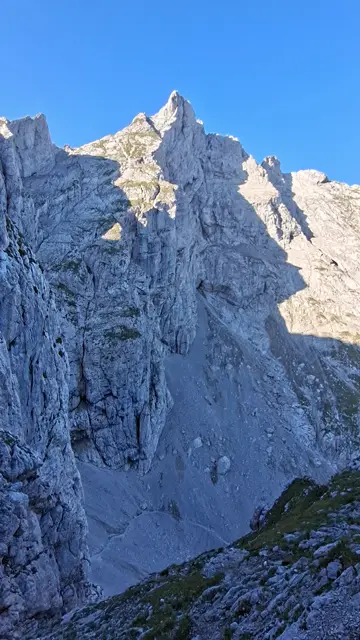

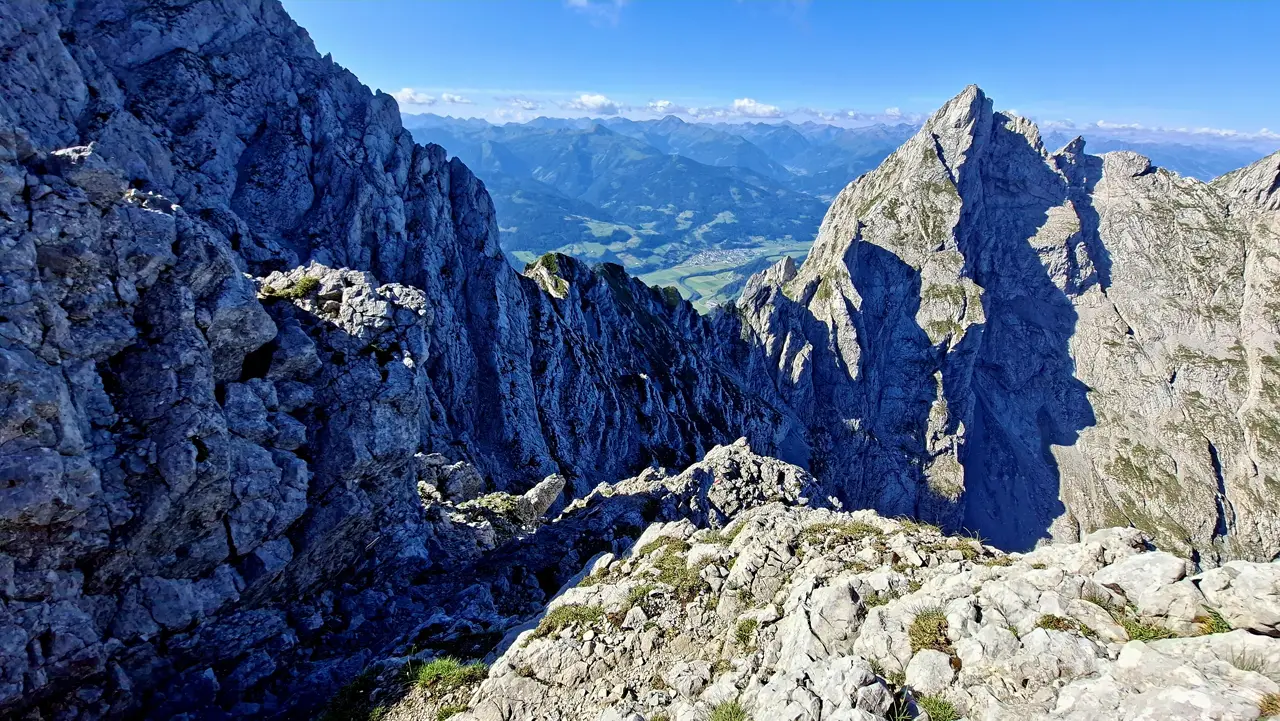
In the upper section, the route steepens again in places and is partly secured with cables. Once past this stretch, you’ve completed the most difficult part of the ascent.
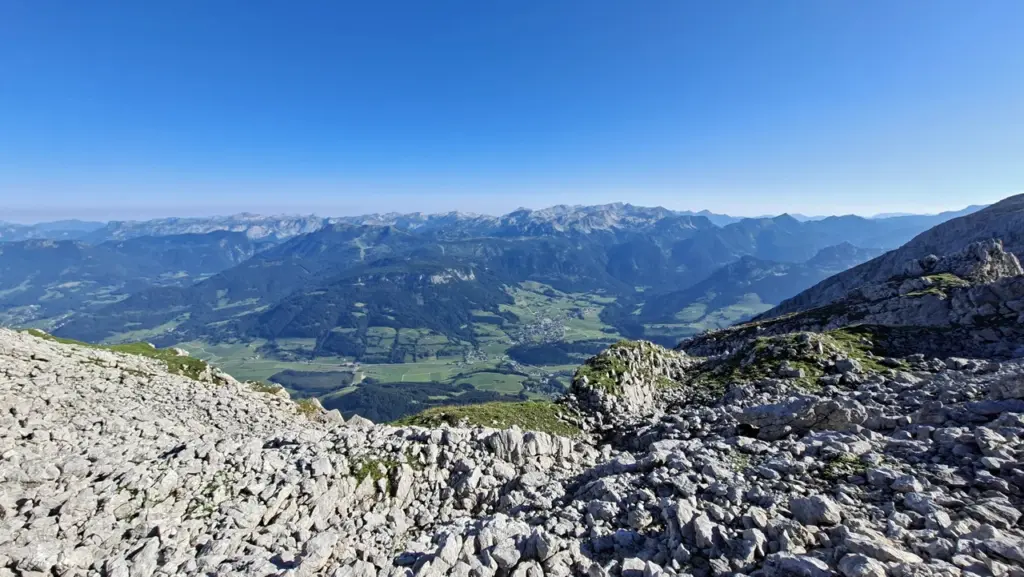
Toni Adam–Dr Obersteiner bivouac – final section
The route now crosses a kind of high plateau, passing the Toni Adam–Dr Obersteiner bivouac, before continuing along an easy T2 trail towards the summit cross and the day’s destination.
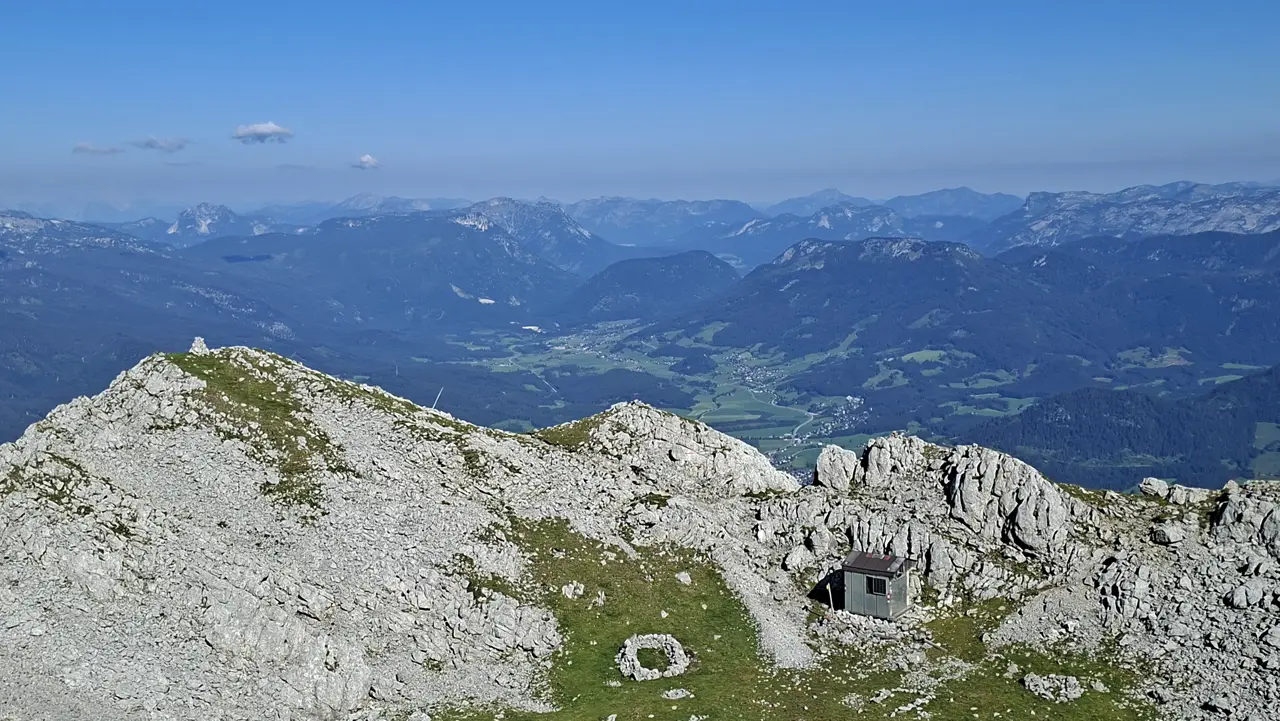
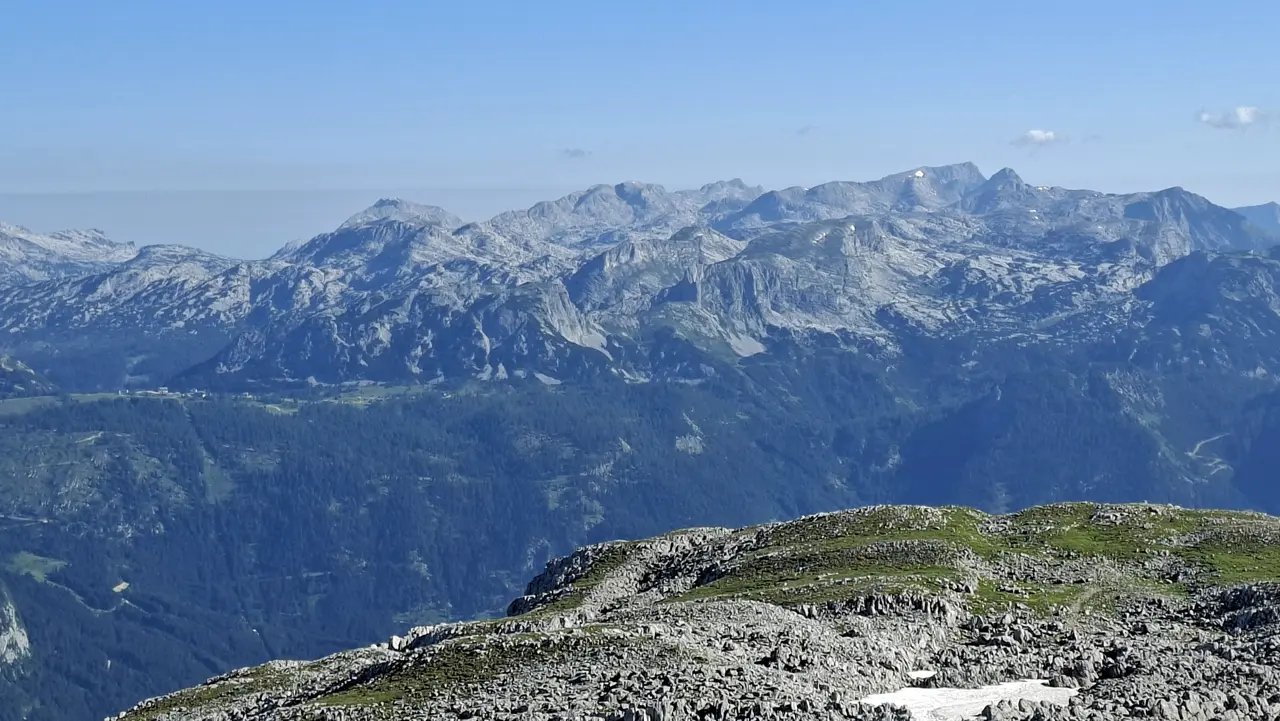
The Toni Adam–Dr Obersteiner bivouac and a stunning panorama to the west. In the distance, you can see the Loser, Sandling, Ausseer Zinken and Hoher Sarstein.
At the summit of the Grimming
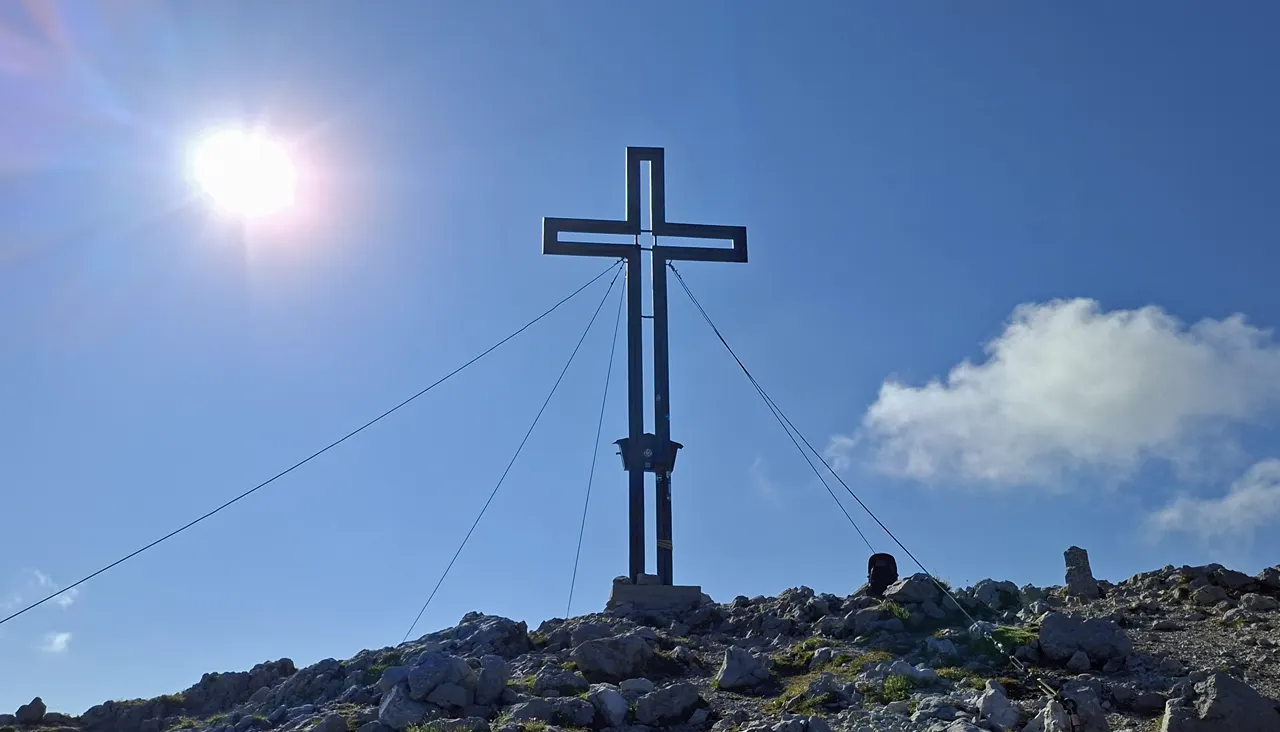
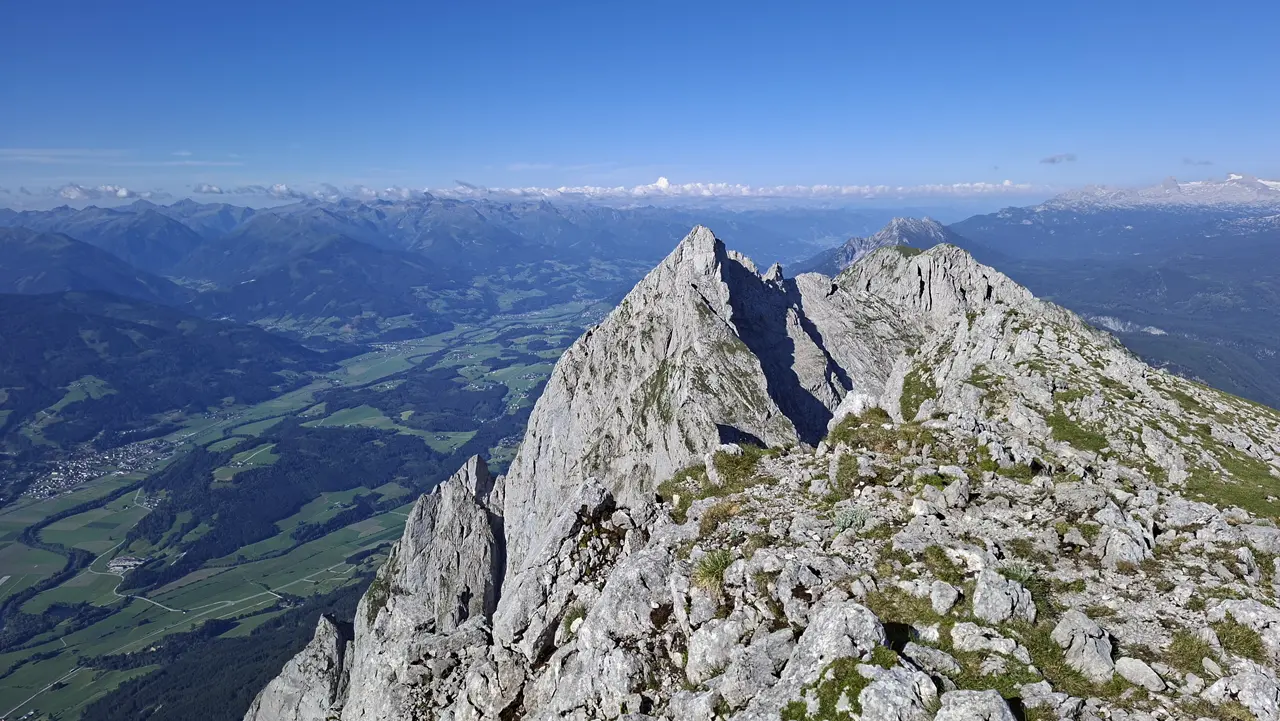
Once you’ve completed the final short T2 climb, you reach the summit of the Grimming fairly quickly.
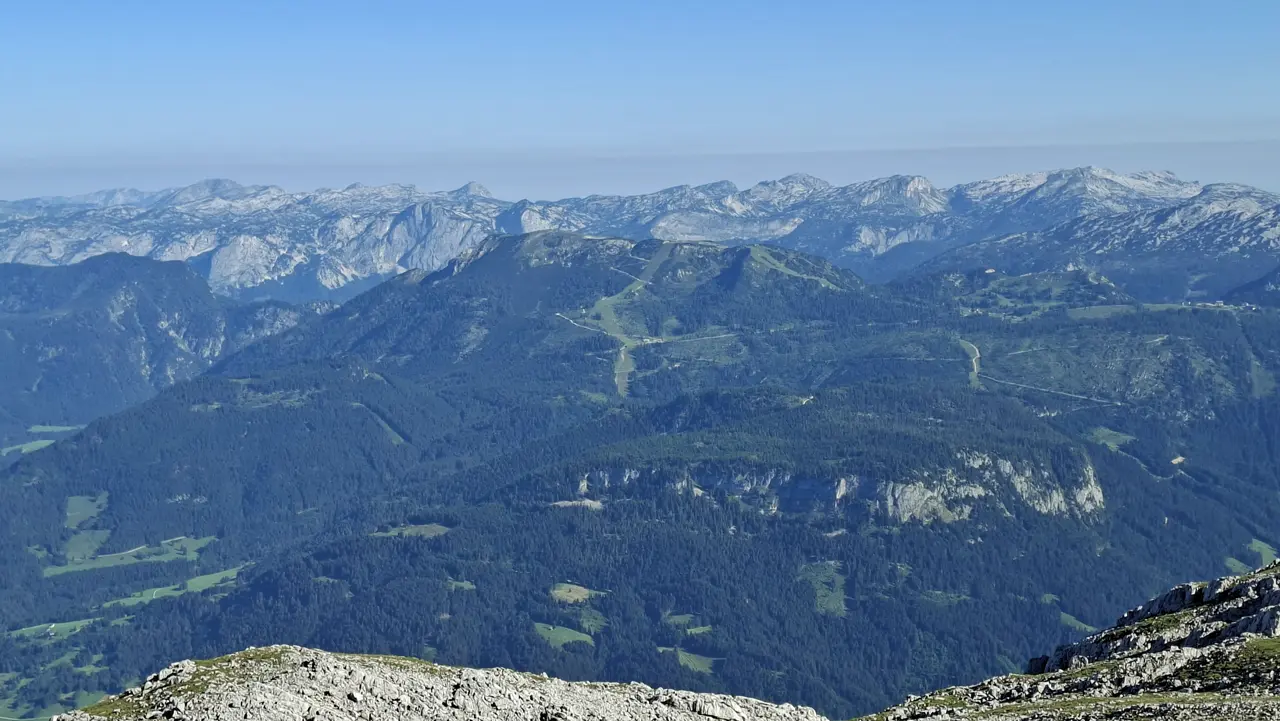
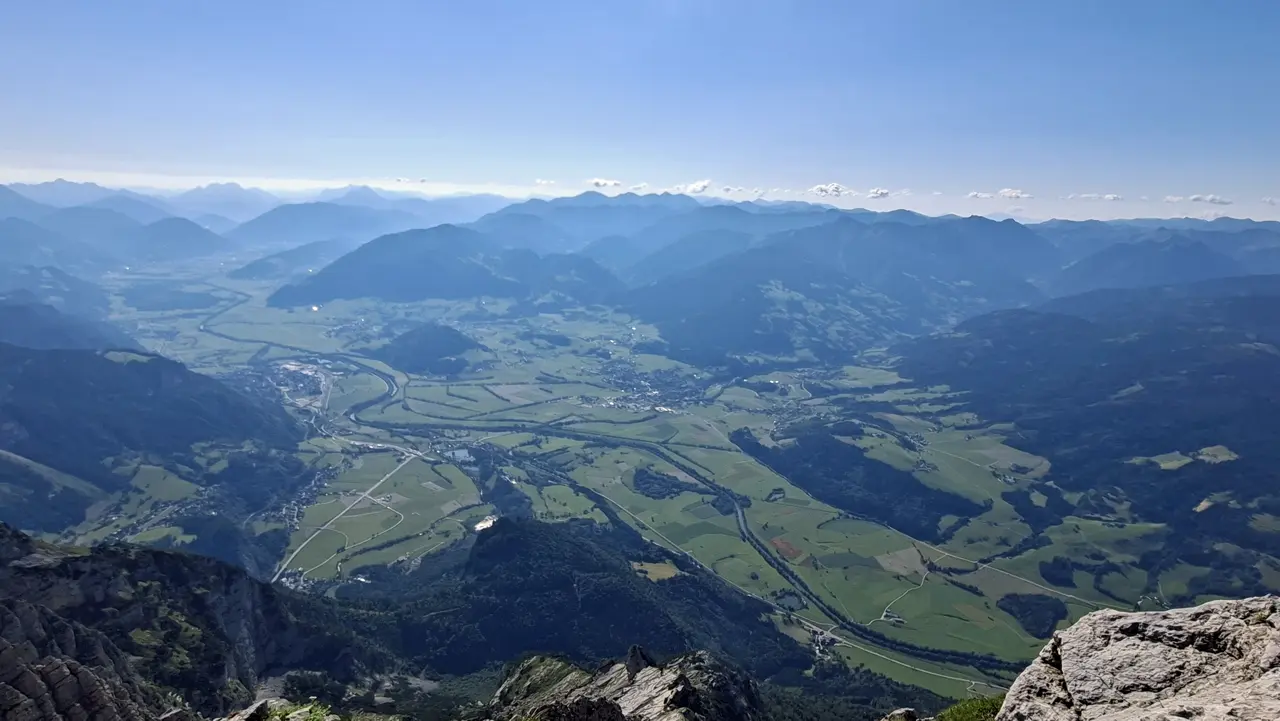
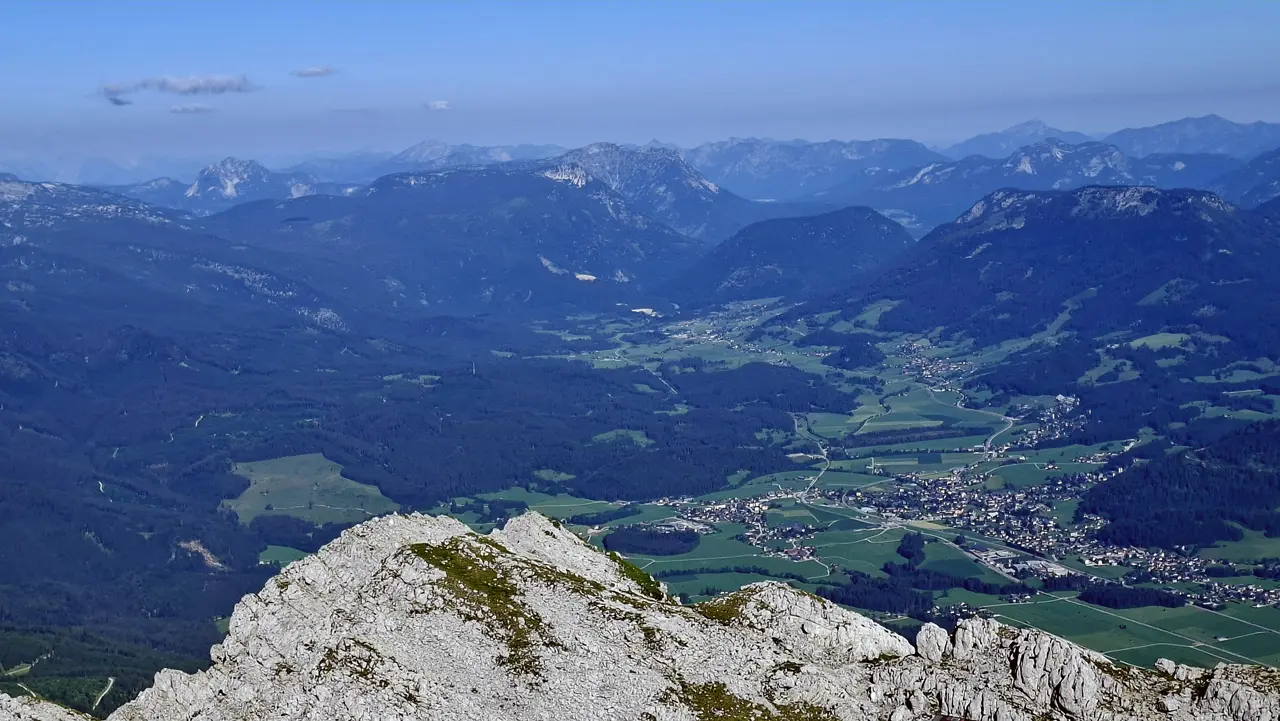
At the summit, you can sign the summit register (which was there as of July 2026), enjoy your packed lunch and, if visibility is good, take in more phenomenal views.

Descent and Return Route
I descended via the same route I had taken on the way up.
CAUTION! On the Grimming, take particular care on the descent. The route is steep, with many exposed, slippery and rocky sections, including passages secured with cables.
Route-finding is also important on the way down. Take your time and stay focused as you work your way back down from one trail marker to the next.

Sun Exposure
The north route is pleasantly shaded, especially in the early morning and during the morning. For most of the way to the Toni Adam–Dr Obersteiner bivouac, you’re sheltered from the sun.
You’re more exposed to the sun only in the final stretch to the summit, which is usually not too uncomfortable. How long you stay in the shade naturally depends on your start time and the time of year.
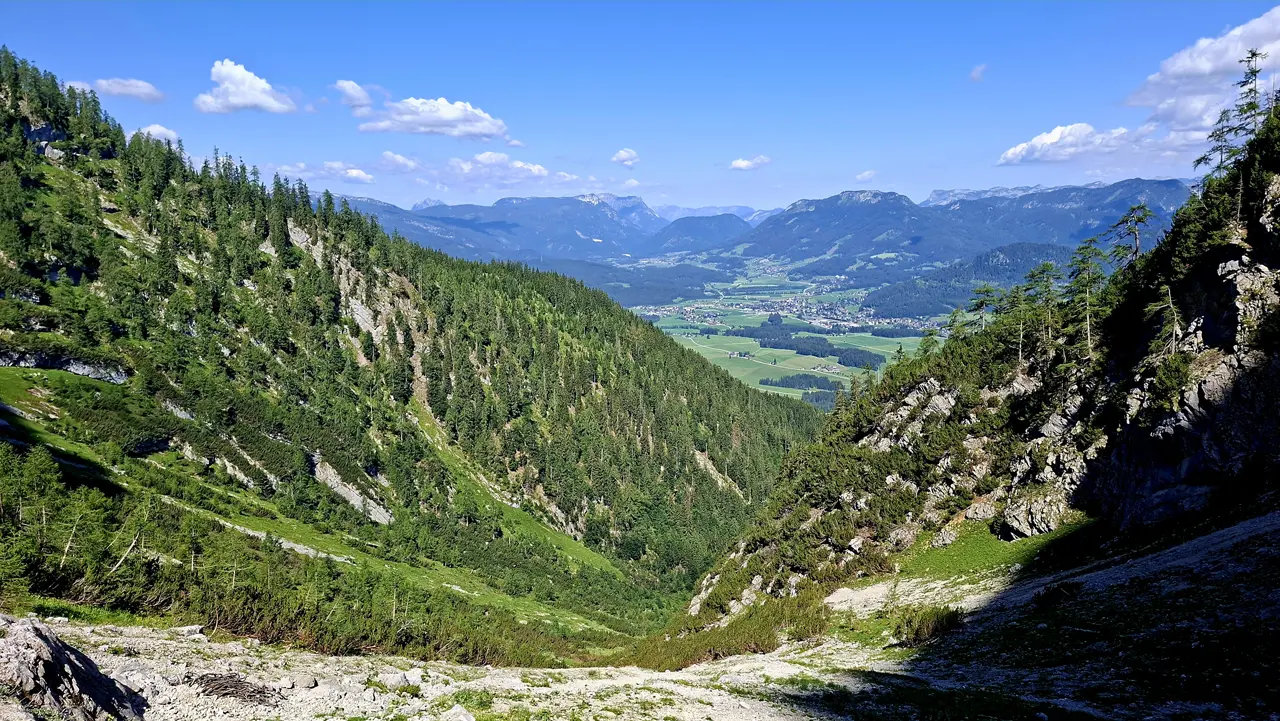
In hot weather or during summer, I’d still recommend setting off very early, also because of the risk of rockfall caused by hikers already descending.
Have you climbed the Grimming via the north route, or do you know an interesting alternative? Feel free to share your experience in the comments.
Information about the current trail conditions is always welcome as well.
⚠ Caution: The tour described here is based on my personal experience and assessment at the time of my hike. Conditions, trail surfaces and markings can change at any time. The provided GPX track is intended for orientation only.
The tour should therefore only be attempted if your technical skills and physical fitness are sufficient for it. Assessing the current conditions and deciding whether to proceed is your own responsibility. Overestimating your abilities can quickly become dangerous in alpine terrain.