

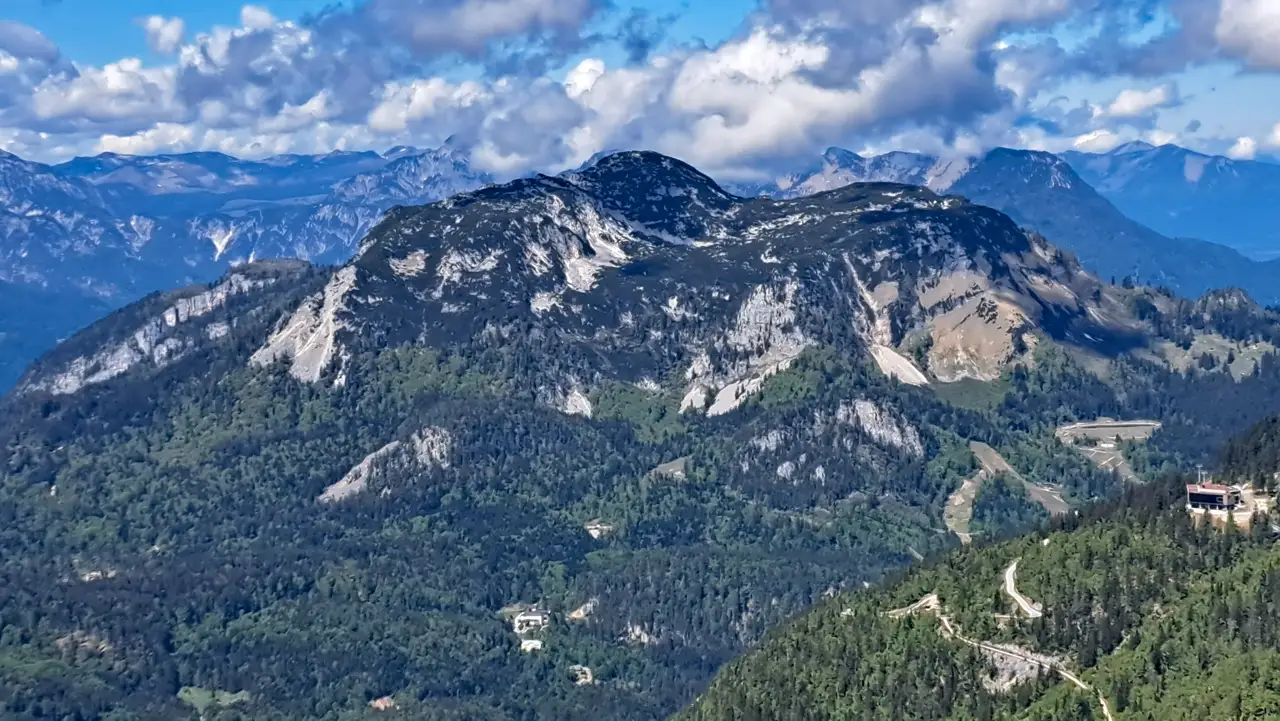
At the end of May, I decided to traverse the Ausseer Sandling.
Since a large part of the normal route runs along the northern side, you should keep an eye on snow conditions when planning this tour, especially in spring.
By then, however, most of the snow had already disappeared, and the conditions were suitable.
Tip: Facebook can sometimes provide a useful indication of the current conditions. The search function can help you find useful posts from hikers who may have recently reached the summit and shared photos.
The 1,717-metre-high Sandling lies west of the Loser in the Ausseerland region and is a popular hiking destination, not only because of its impressive summit panorama but also because of its alpine pastures and the various ascent and descent options.
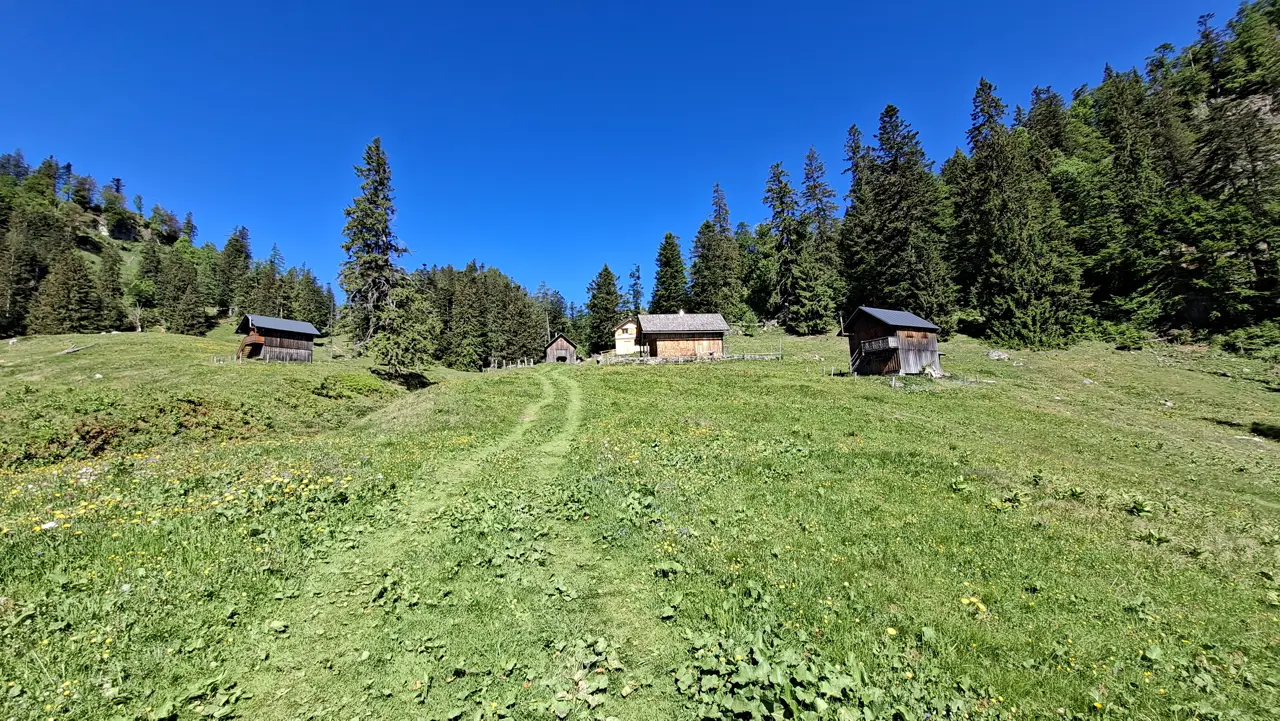
The tour not only passes through alpine pastures and leads to the summit of the Sandling, but also takes you past old mine tunnels, a hidden and usually unattended hut offering chilled drinks, and sites steeped in history.
- Technical Difficulty and Fitness Level
- Parking — Starting Point of the Tour
- Ascent to the Sandlingalm (GPX Track of the Hike)
- Ascent of the Sandling via the Normal Route
- At the Summit of the Sandling
- Descent via the Sandling Via Ferrata to the Vordere Sandlingalm
- Descent Back to Waldgraben near Lupitsch
- Sun Exposure
Technical Difficulty and Fitness Level
From a technical perspective, the entire hike is officially rated T2/T3 and “difficult.”
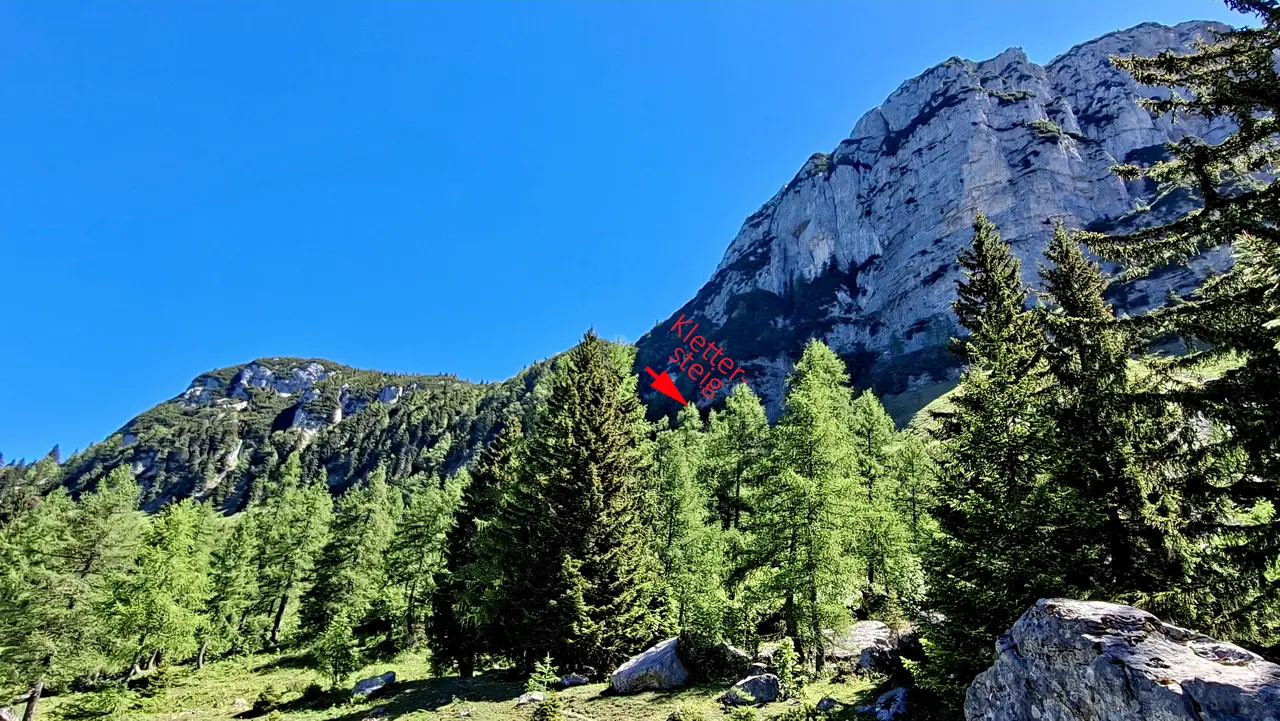
The “difficult” rating is mainly due to the descent to the Vordere Sandlingalm. This section is a very easy protected via ferrata graded A/B, with only a few isolated passages at UIAA grade I.
In terms of fitness, the tour is moderately demanding. It covers around 10.6 kilometres, with approximately 900 metres of ascent and descent. At a brisk pace and excluding breaks, I completed the tour in just over three hours. At a normal pace, however, you should allow approximately four to five hours in total.
Parking — Starting Point of the Tour
The starting point of the tour is Waldgraben, above the village of Lupitsch.
There are plenty of free parking spaces available there.
The car park is not officially listed on Google Maps. Select “Open in Google Maps” at the marked location to start navigation.
Ascent to the Sandlingalm
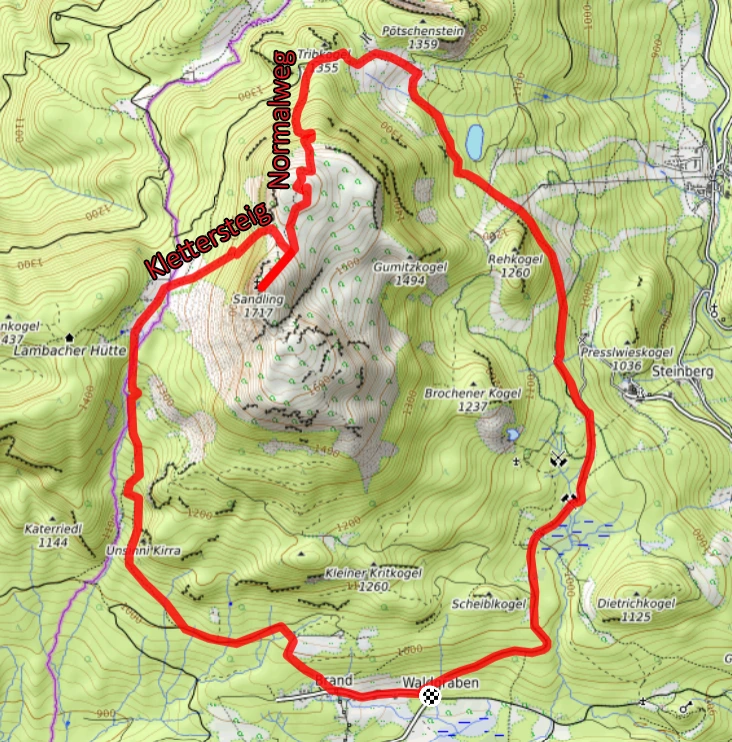
The tour begins directly above the car park on trail no. 8A. At the very start, I passed a barrier on the wide forest road and then ascended relatively gently through the forest towards Moosberg.
ATTENTION: Do not follow the level forest road east towards the Pflindsberg ruins under any circumstances! Pay close attention right from the start.!
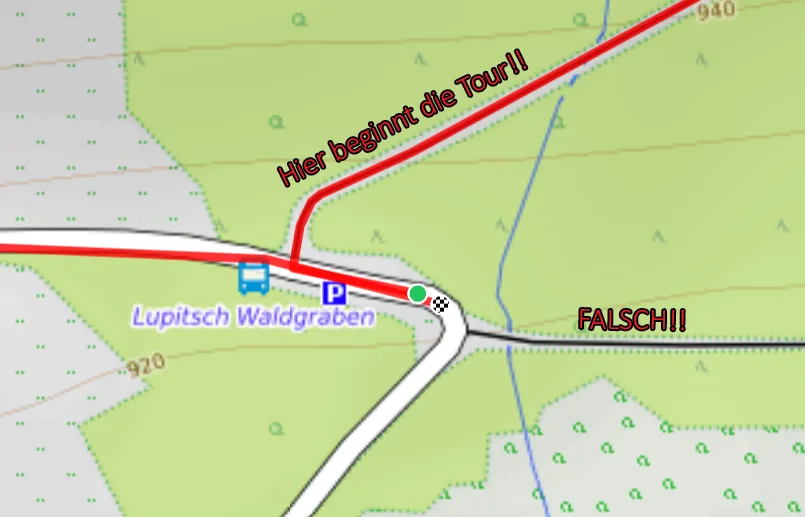
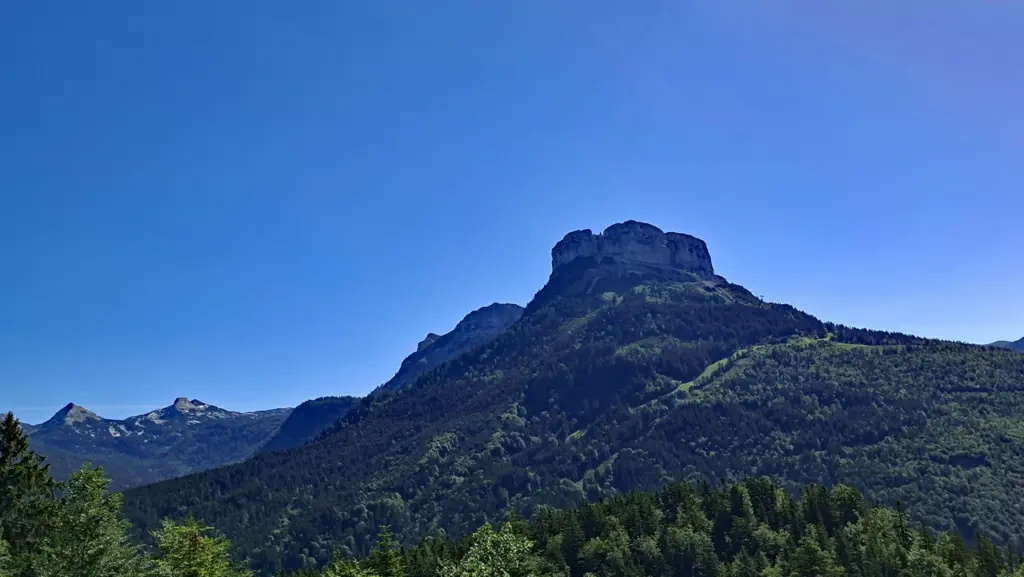
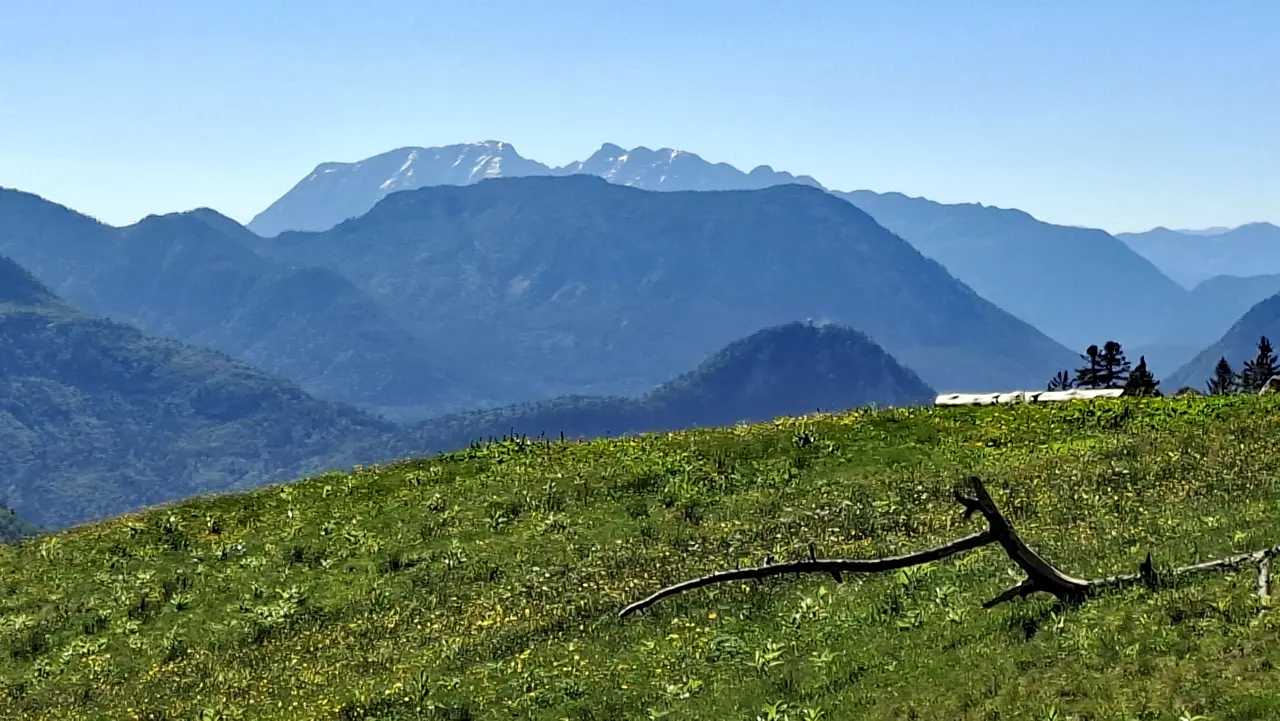
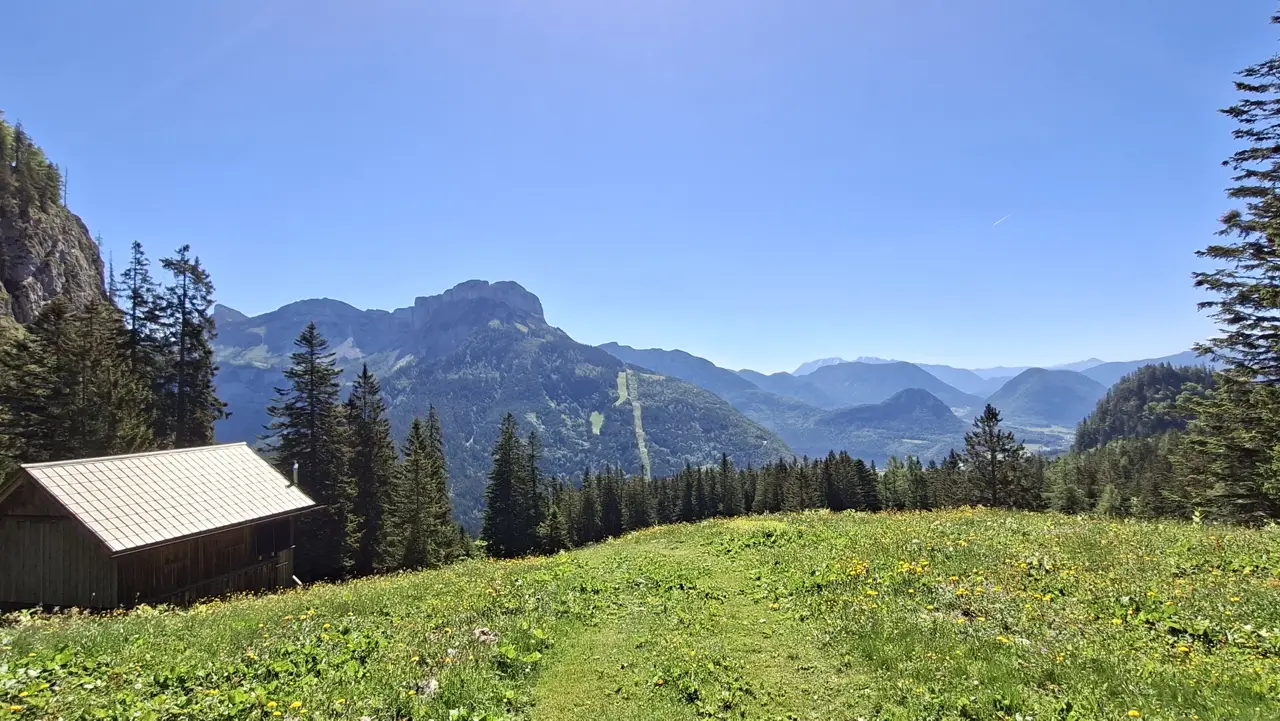
After only a short while, you reach beautiful clearings and meadows offering magnificent views of the Loser.

The route also passes the old, historically significant mining centre of Moosberg, where tunnels belonging to the Altaussee salt mine are located.
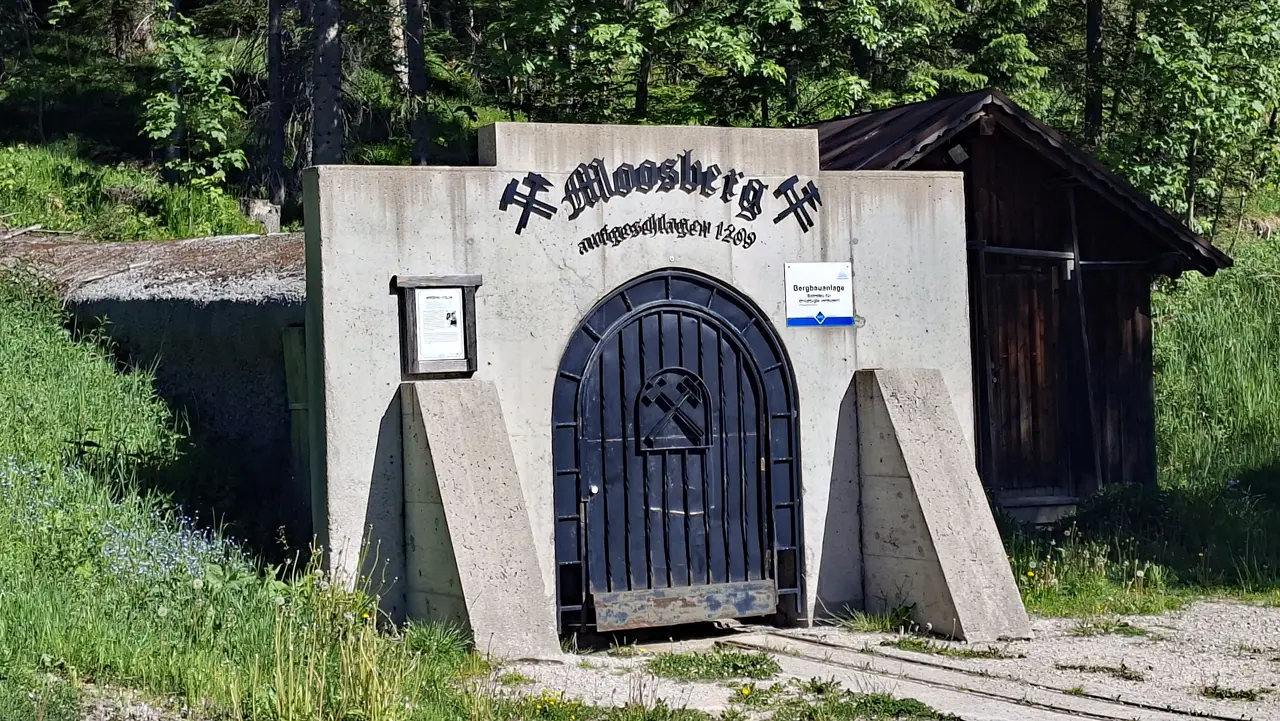
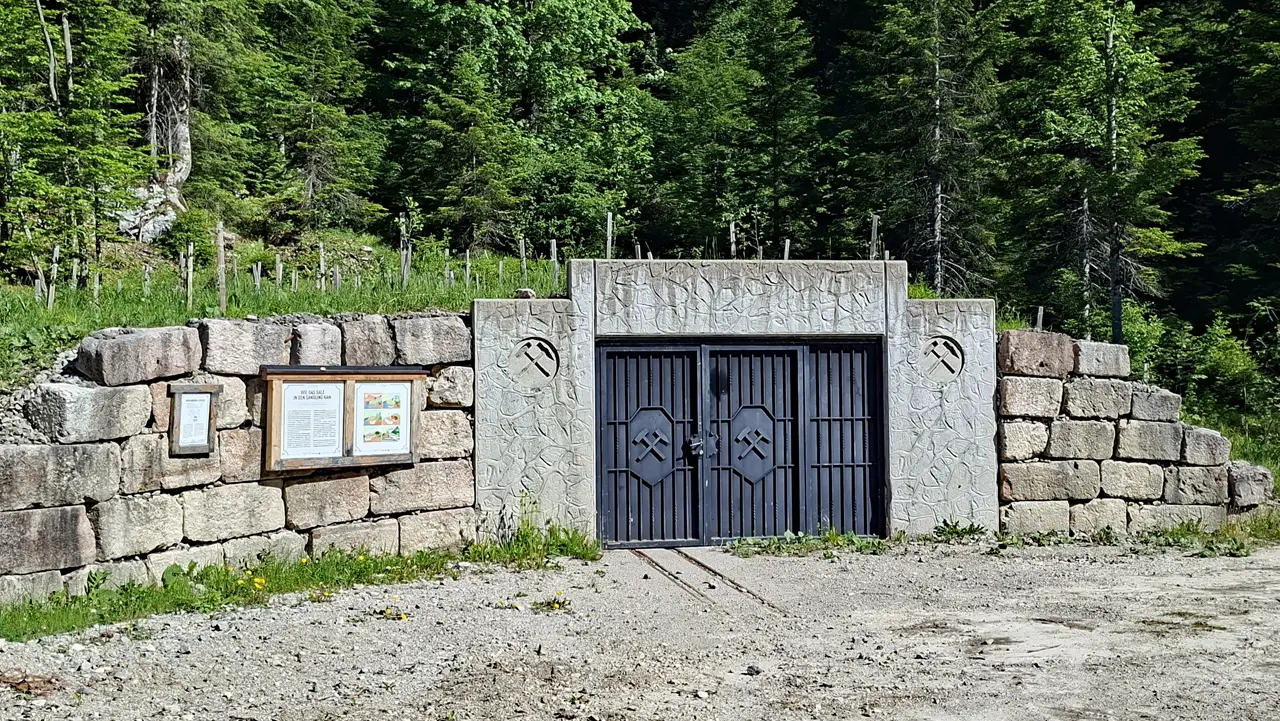
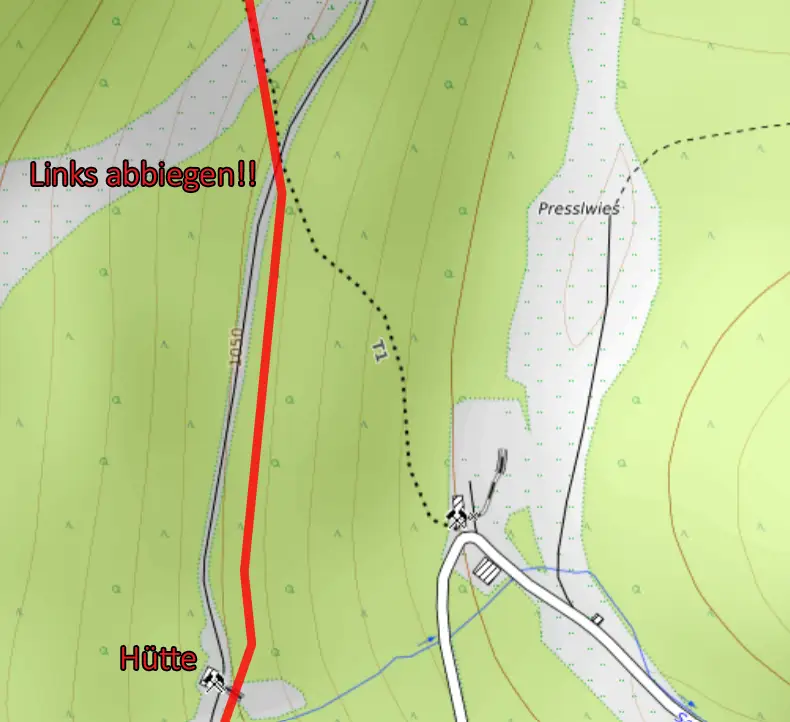
A few minutes later, you reach a junction on a small rise. Be sure to turn left here and follow the level forest road.
The steep downhill path also provides an alternative ascent route, but you initially lose around 30 metres of elevation, which you then have to regain.
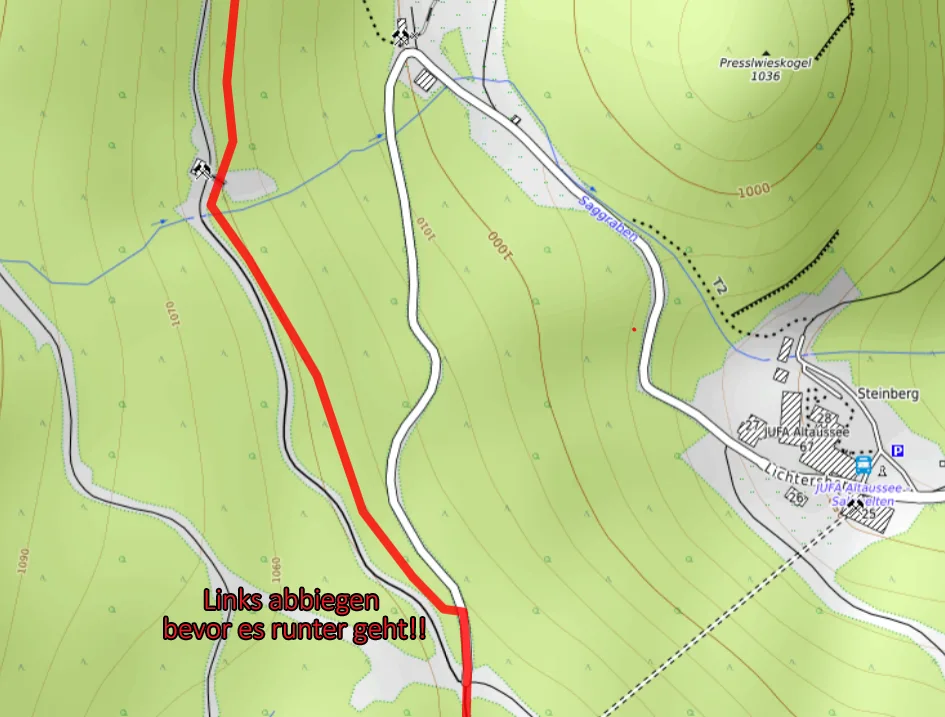
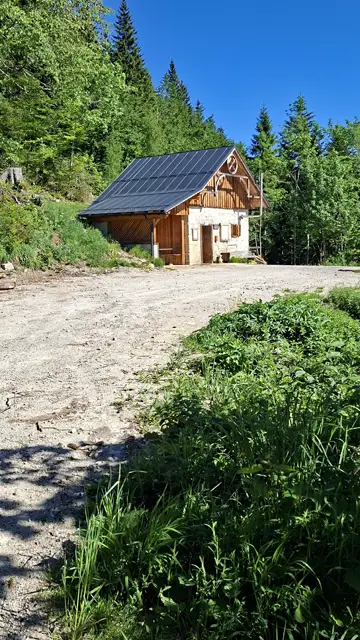
A short while later, you reach a small, cosy and secluded hut.
The hut is usually unattended, but chilled drinks are available in a trough (as of May 2026).
Payment is made simply according to the posted price list, and there is also a pleasantly shaded seating area.
Shortly after the hut, your full attention is required once again: the steep entrance to trail no. 252 branches off abruptly to the left towards the Sandlingalm and can easily be missed.
First, follow the wide path downhill for a few metres after the hut. Shortly afterwards, however, the relatively inconspicuous trail branches off to the left into the forest and immediately climbs steeply uphill.
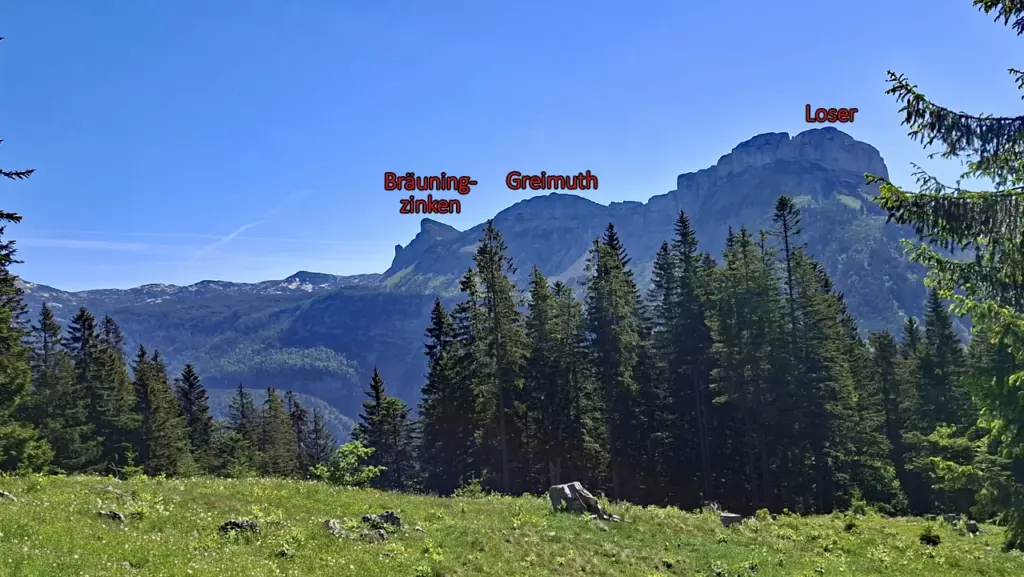
The route now crosses ski slopes and passes east of the Rehkogel on the way to the Sandlingalm. Along the way, there are repeated views of the Loser Arena and the Loser.
From this section onwards, the terrain becomes increasingly steep and demanding, reaching T1 to T2 difficulty at the latest.
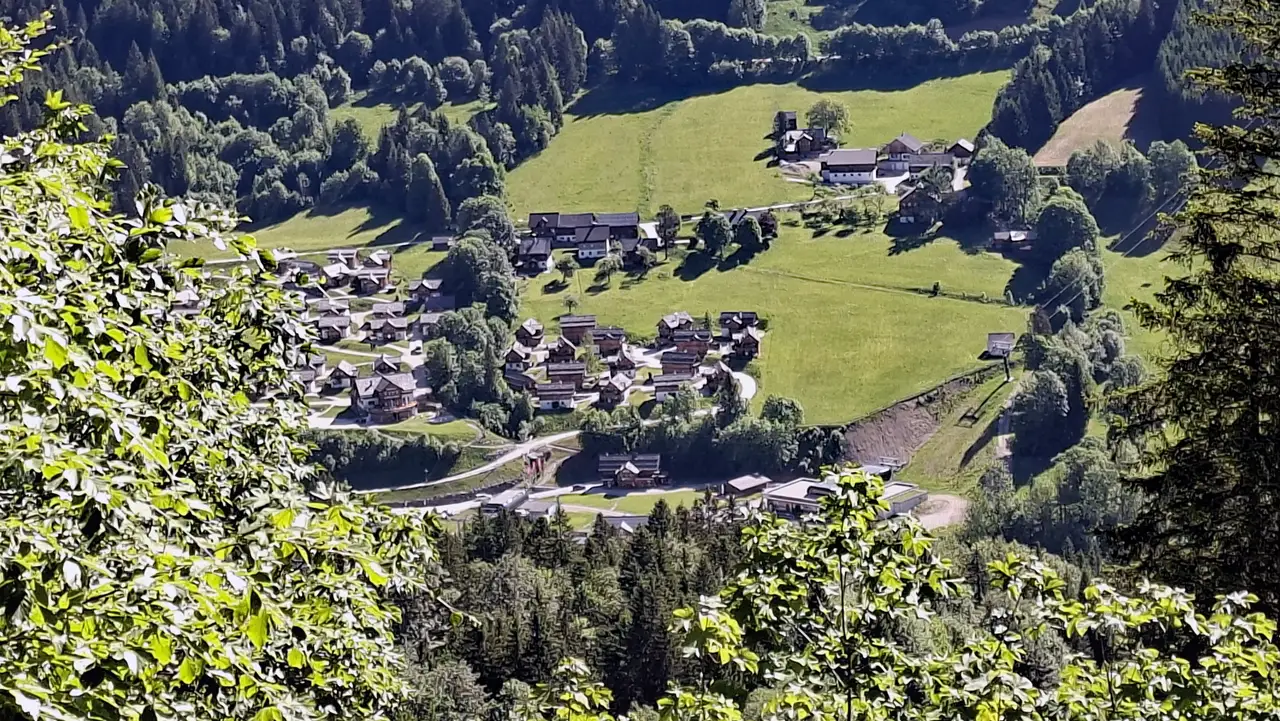

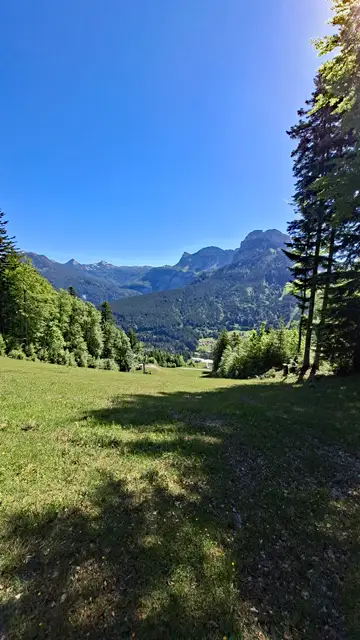
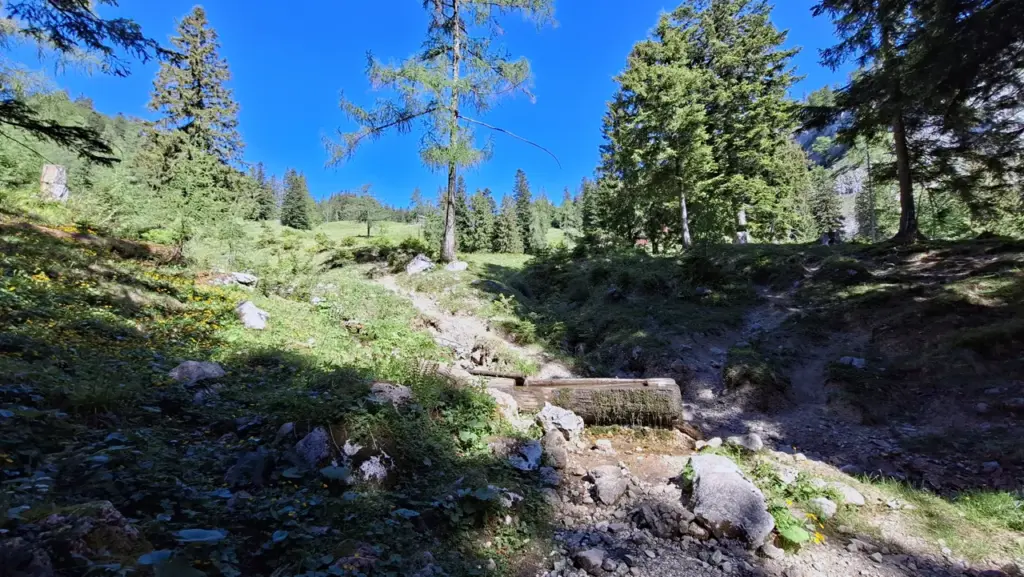
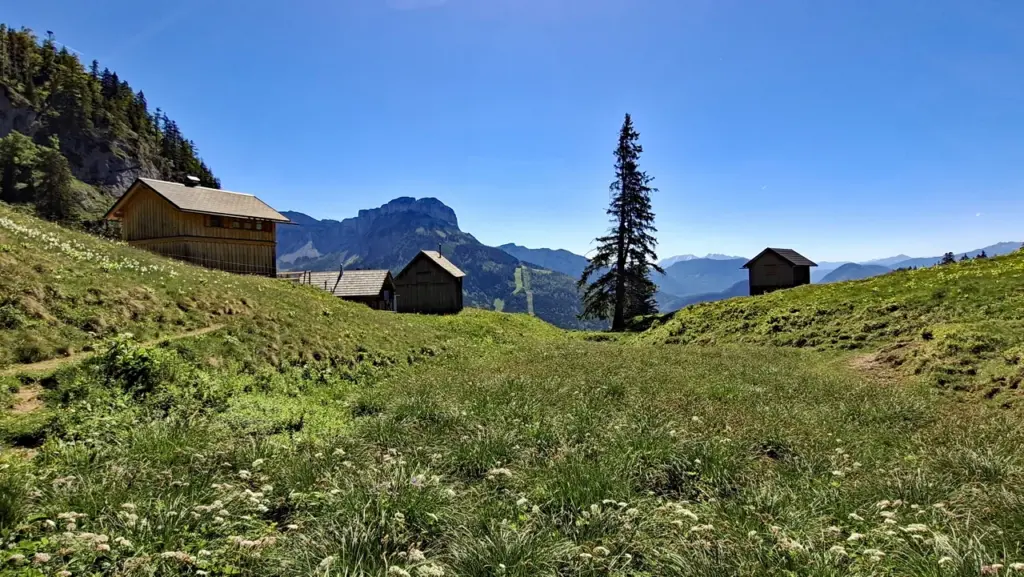
After a while, you reach the idyllic Ausseer Sandlingalm.
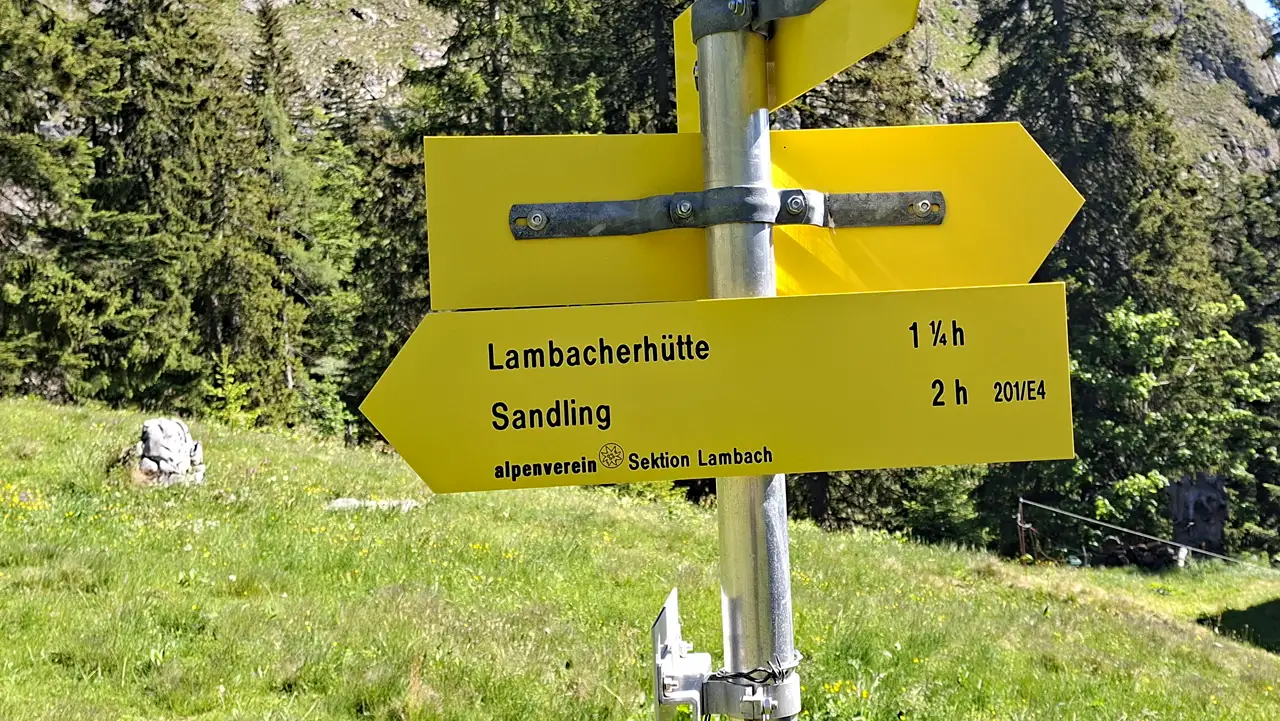
There is another junction here—follow the signpost to the left and continue northwest towards the Sandling on trail no. 252.
Ascent of the Sandling via the Normal Route
After the Ausseer Sandlingalm, the trail turns west and leads to the northern side of the Sandling.
Stay alert here as well so that you do not miss the left turn onto the steep normal route no. 251 to the summit (T2/T3). Otherwise, you may inadvertently end up hiking around the Sandling 😂
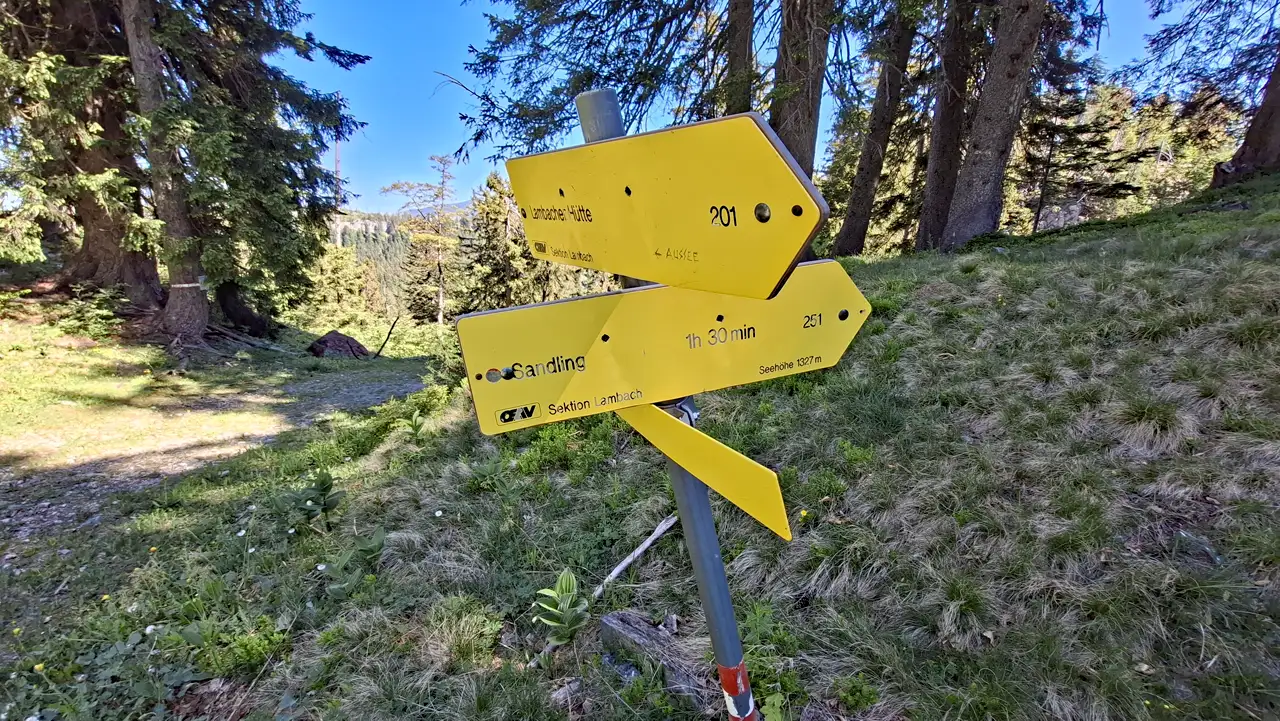
The trail now turns south. You are now in a technically more demanding but pleasantly shaded section on the Sandling’s northern slope.
Although this is not a via ferrata, the ascent is rated T2 to T3 and should certainly not be underestimated.
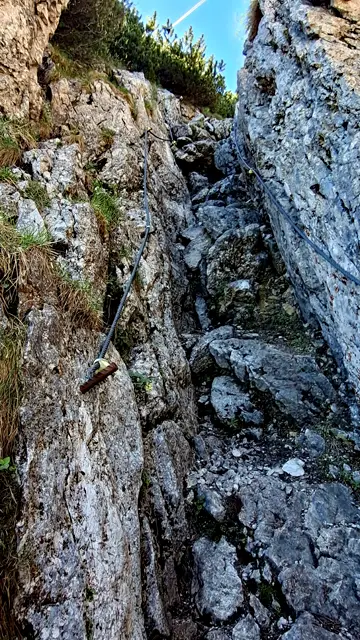
In the upper section, the trail becomes increasingly narrow and steep, with one or two short passages secured by steel cables.
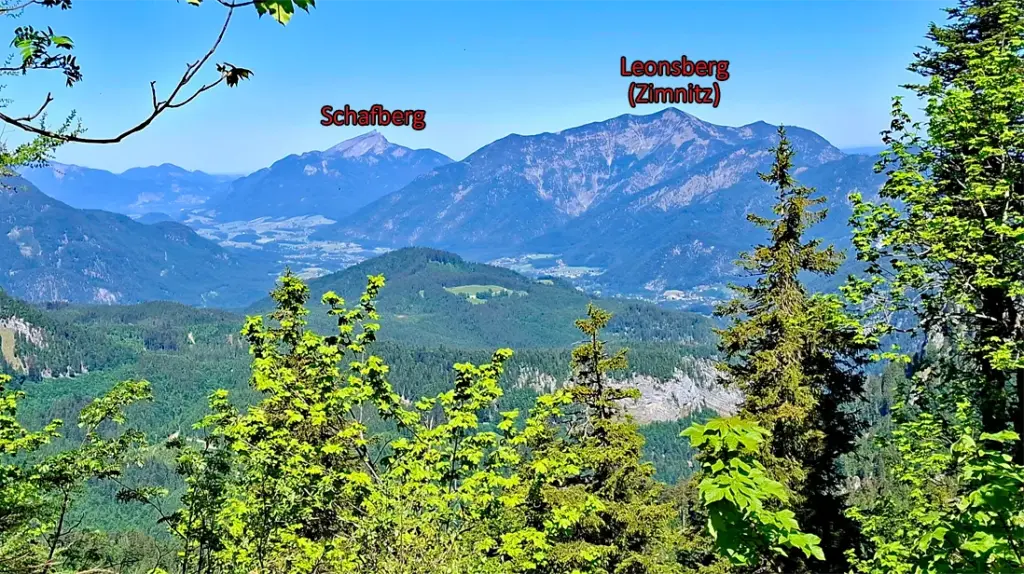
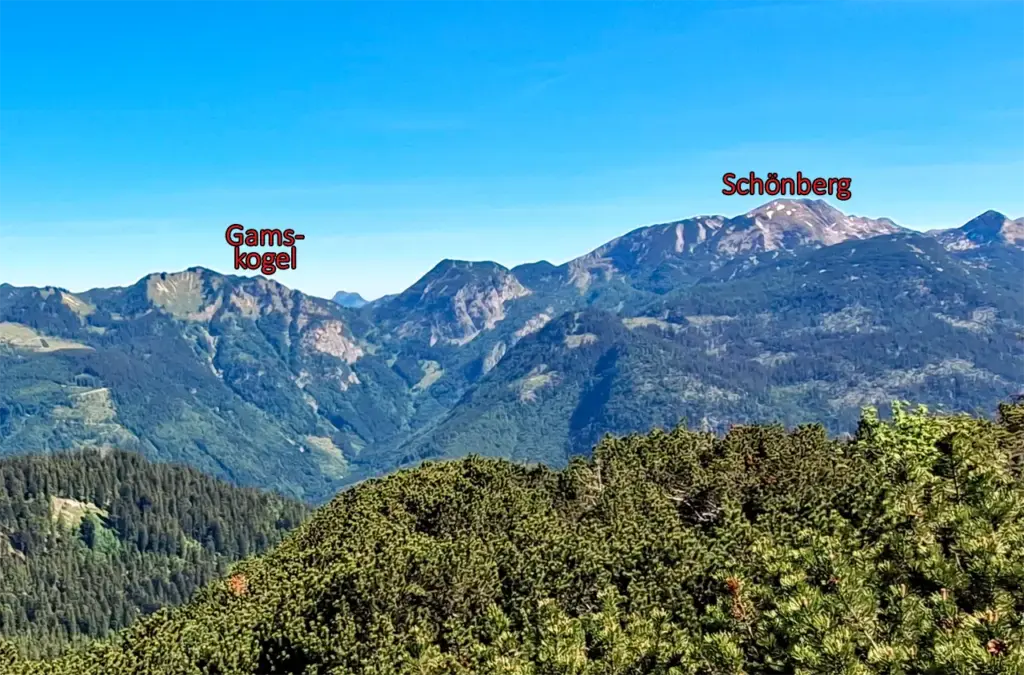
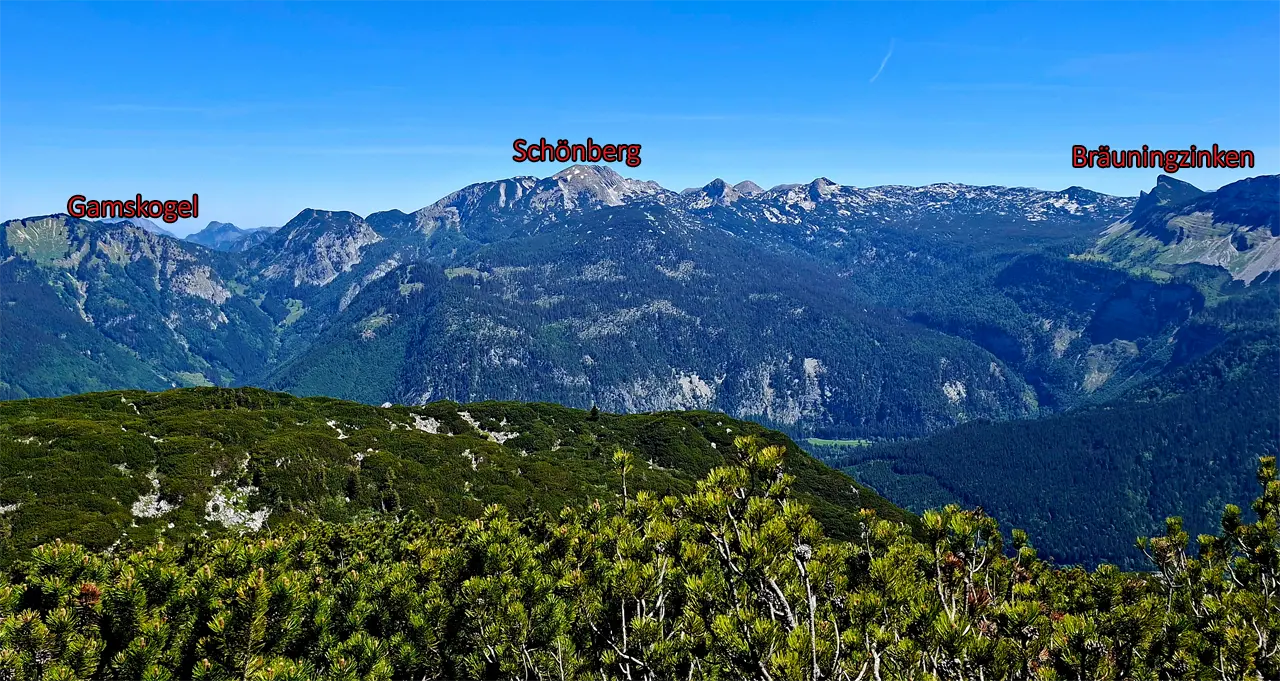
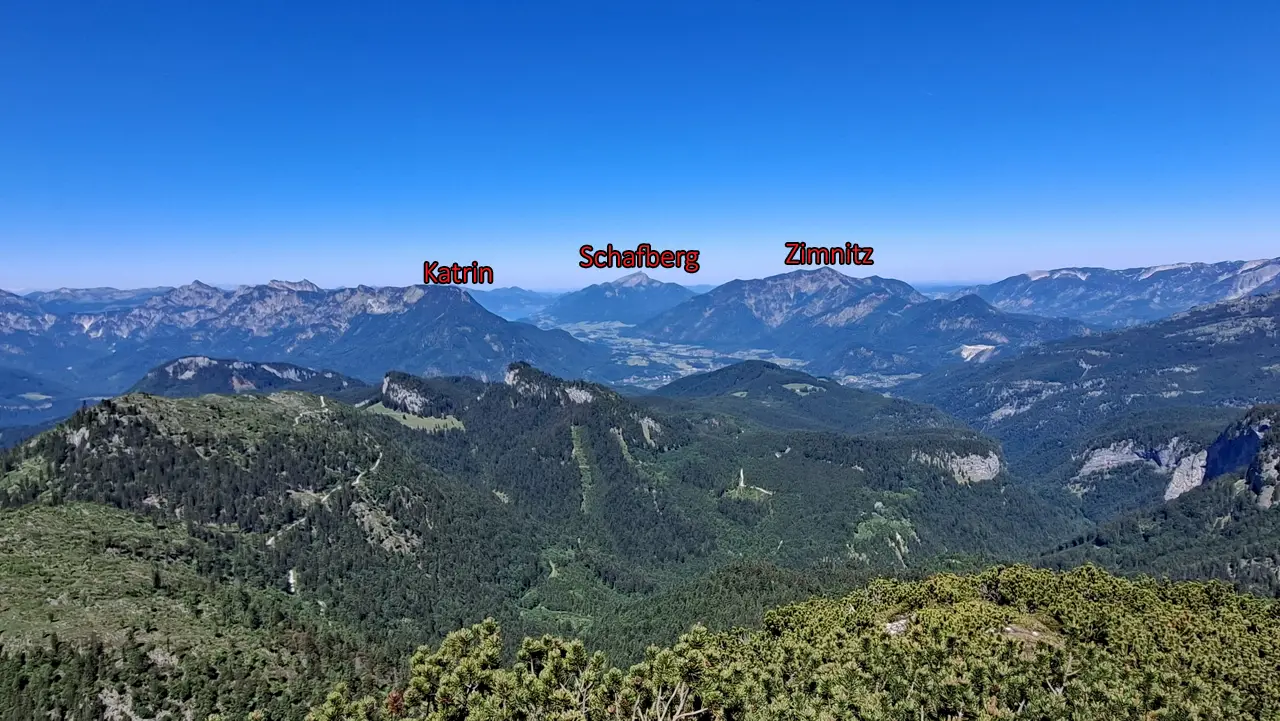
During the ascent, in good visibility, the view extends northwest to the Leonsberg (Zimnitz) and the Schafberg, while the Gamskogel and Schönberg (Wildenkogel) rise to the northeast.
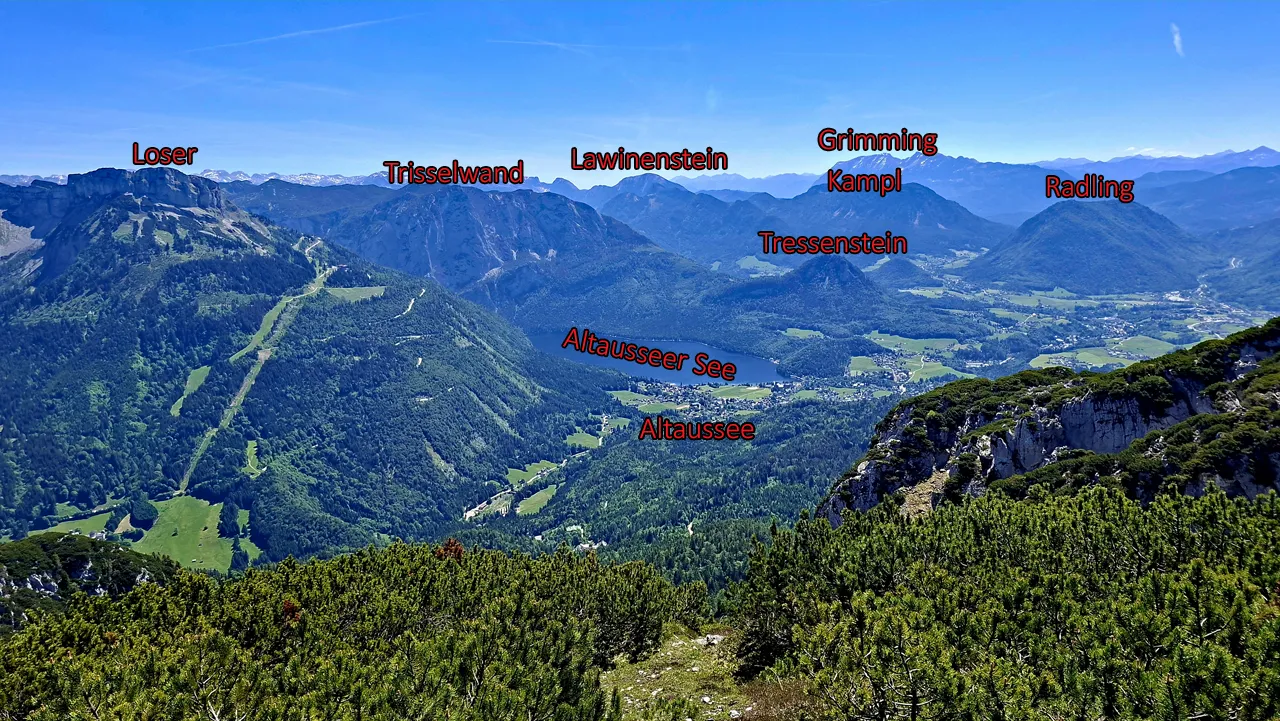
After the more demanding section, you first reach a relatively level plateau with further impressive views of the surrounding mountains. Your gaze is repeatedly drawn to the Loser and the Trisselwand.
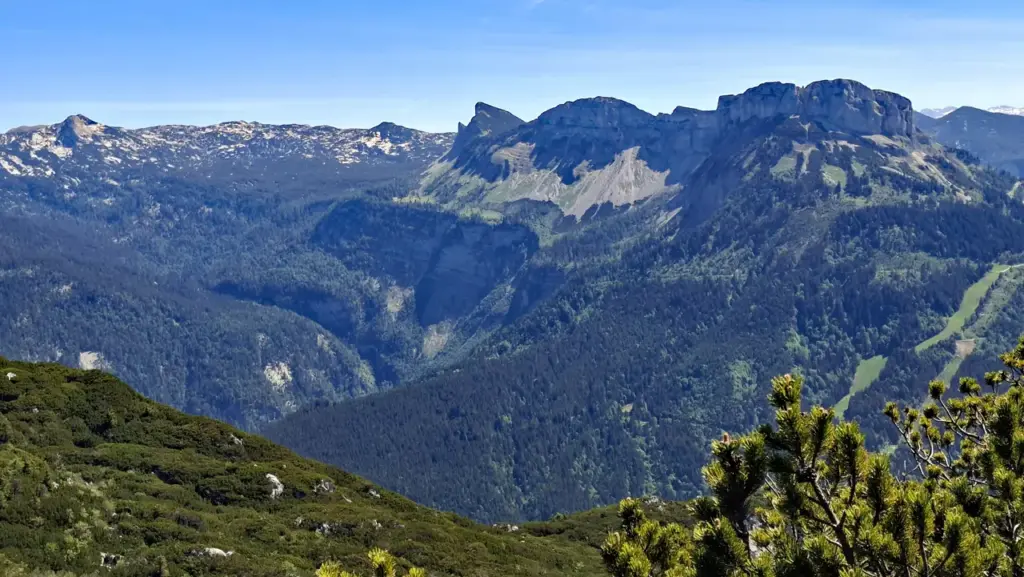
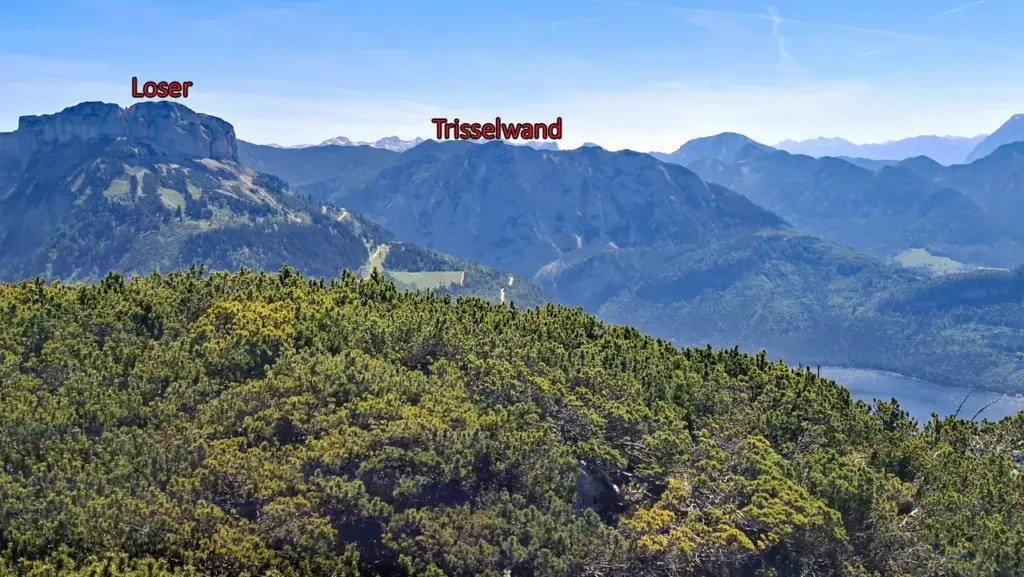
Trail no. 251 then continues southwards through rocky terrain and between mountain pines, with constant short ascents and descents. In this section, you should pay particularly close attention to the trail markers, as it is otherwise relatively easy to lose your way among the dense mountain pines.
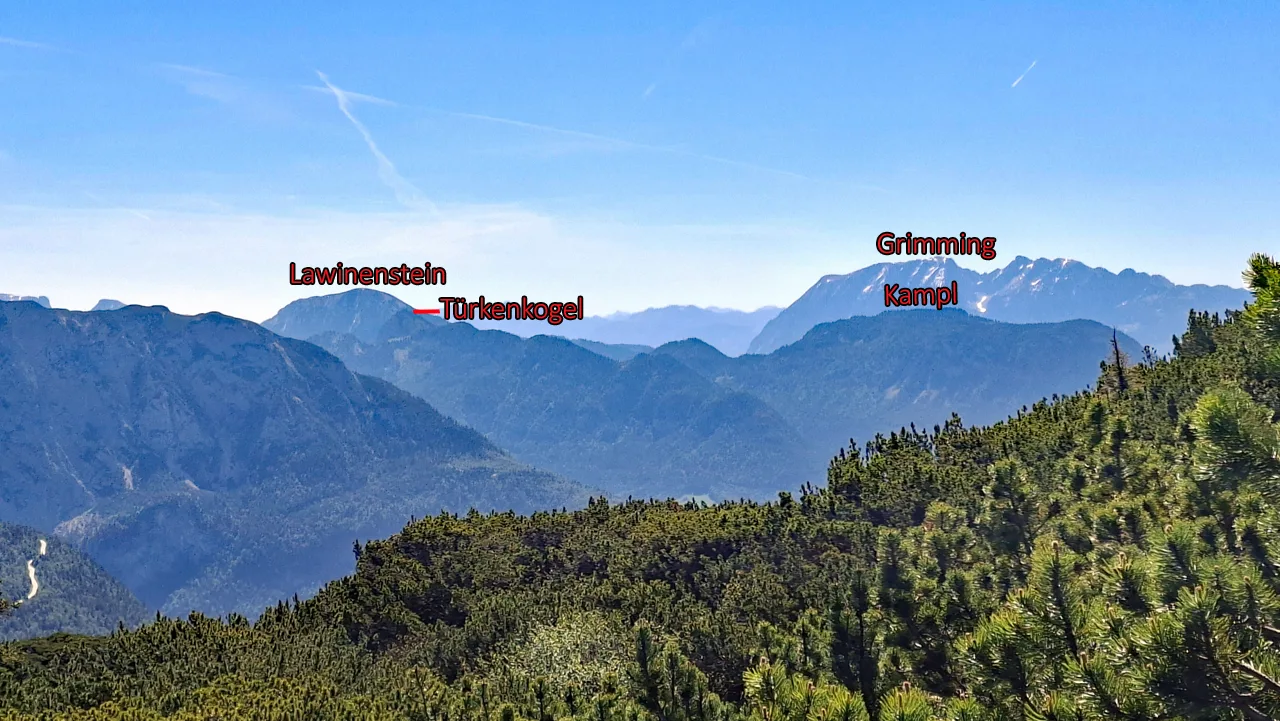
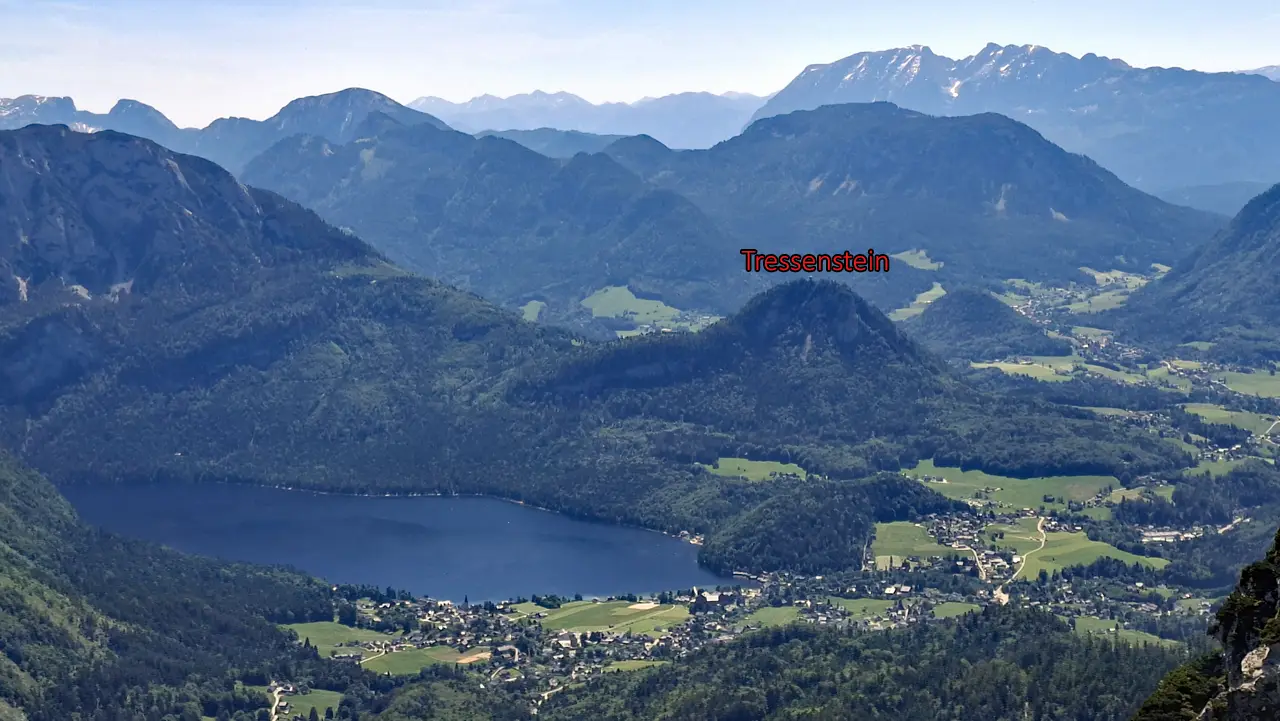
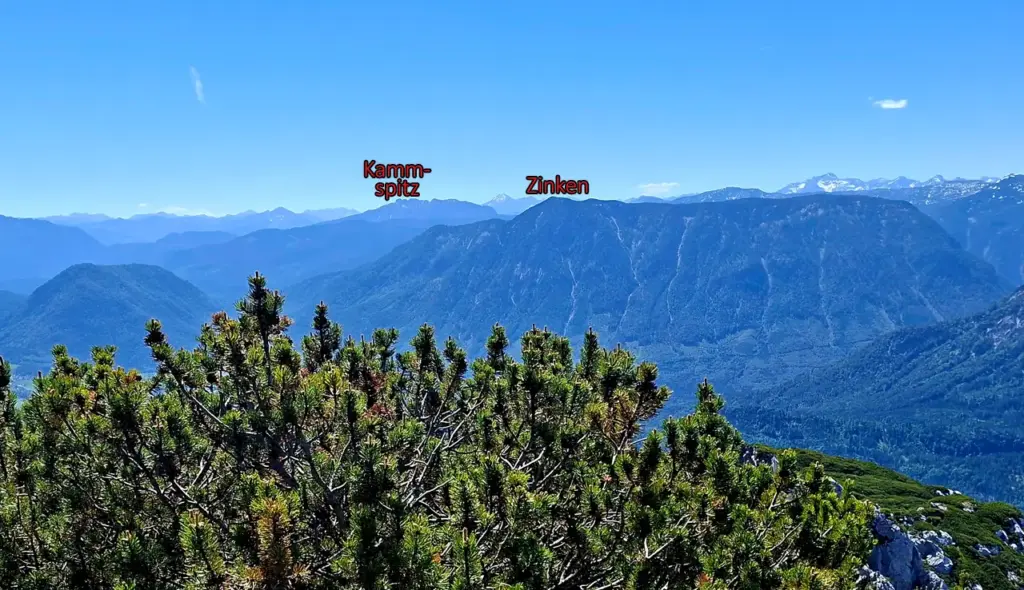
In good visibility, there are now also spectacular views of the Türkenkogel, Lawinenstein, Kampl, Grimming, Lake Altaussee and Tressenstein.
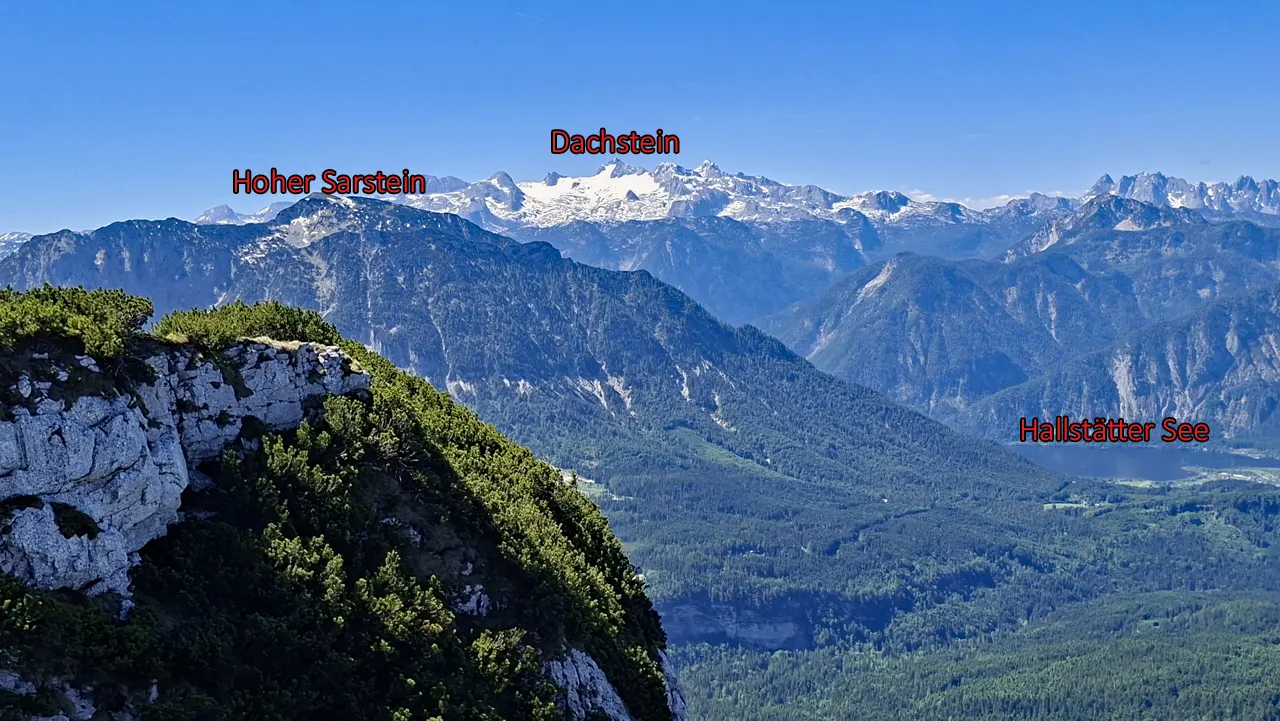
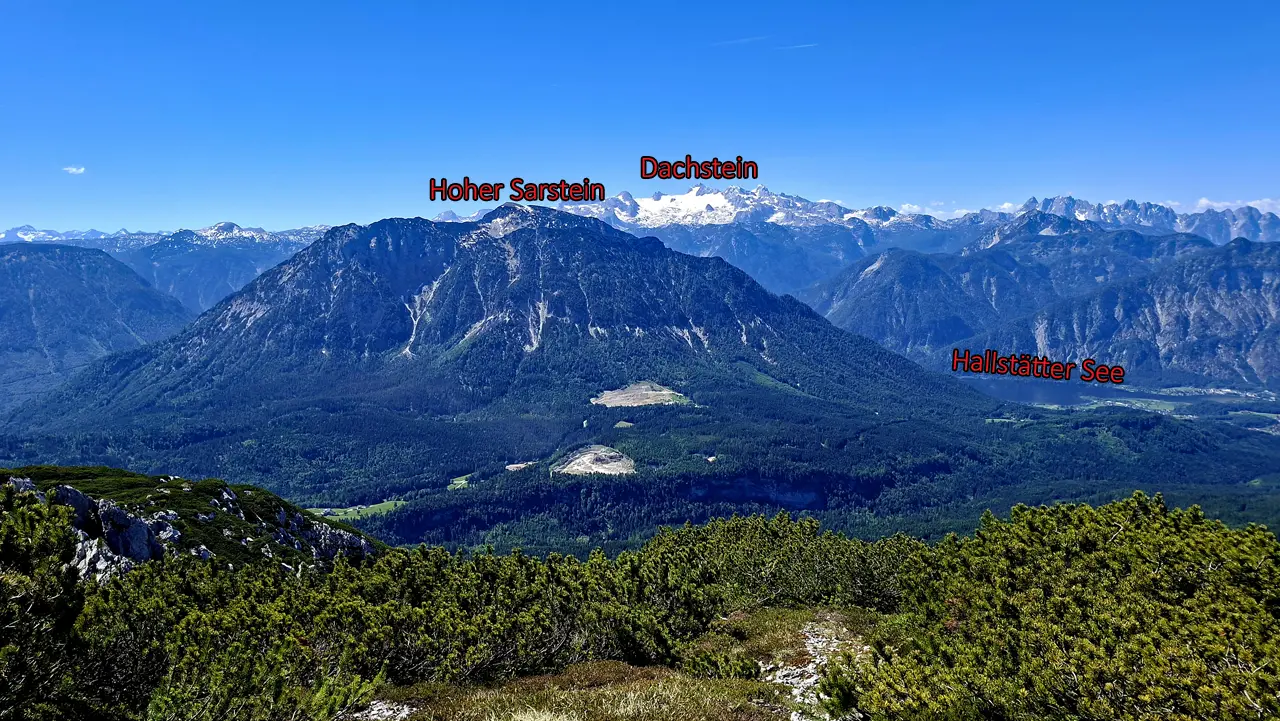
Shortly before the summit, continue towards the Sandling at the signpost. To the south, you can see Lake Hallstatt, the Hoher Sarstein and the Dachstein.
At the Summit of the Sandling
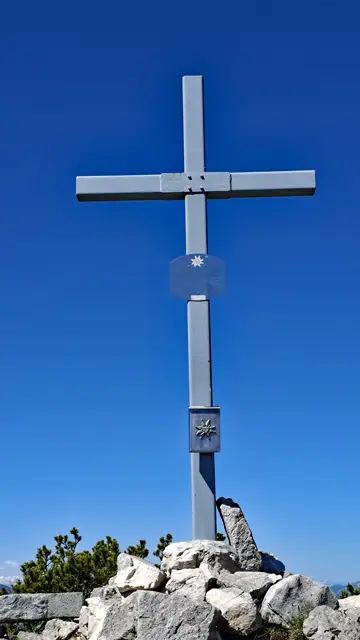
After a few more metres of walking and ascent, you finally reach the summit of the Sandling.
Now it is time to sign the summit register—which was present at the summit as of the end of May 2026—have a snack and, in good visibility, enjoy more phenomenal views.
Descent via the Sandling Via Ferrata to the Vordere Sandlingalm
As the normal route ends somewhat unclearly shortly before the summit cross, it is easy to lose track of the trail on the way back and, in all the summit euphoria, even set off in the wrong direction.
Confusingly, a clearly worn path continues south from the summit, but it leads to an unmarked and exposed descent route rated T5.
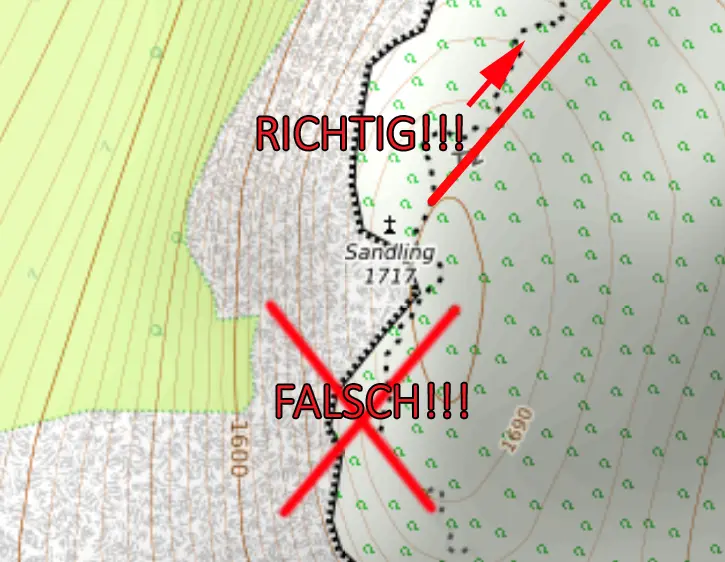
So pay close attention: the entrance back onto the normal route is located slightly northeast of the summit cross. If in doubt, a quick look at the map on your smartphone with GPS location enabled can help.
Then descend a few metres and turn left at the signpost onto trail no. 250, heading west towards the Lambacher Hütte/Vordere Sandlingalm and the Sandling Via Ferrata.
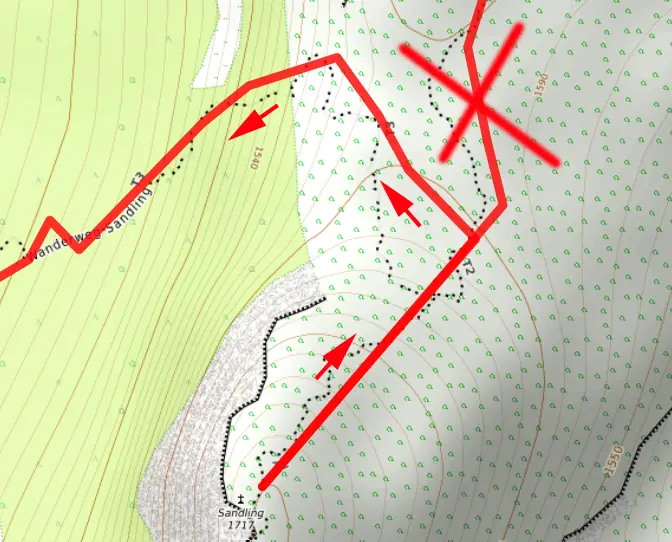
This is where the technically more demanding part of the tour begins. In wet conditions, I would advise against taking this route and recommend descending via the normal route instead.
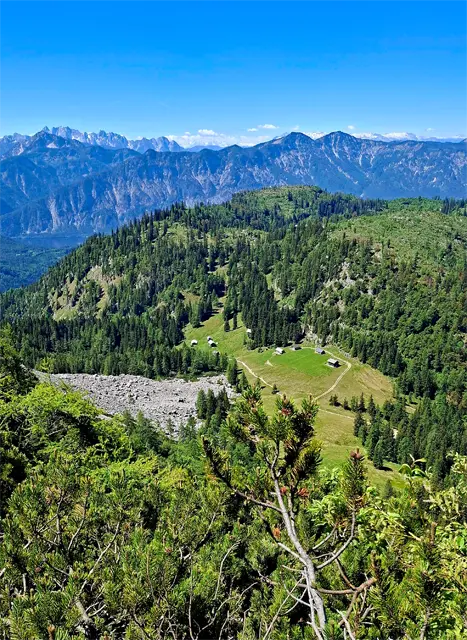
Shortly before reaching the start of the via ferrata, you can already see the Vordere Sandlingalm below, the destination of the descent.
It is a relatively easy A/B via ferrata with a few climbing passages graded UIAA I. Nevertheless, it should not be underestimated, especially when descending.
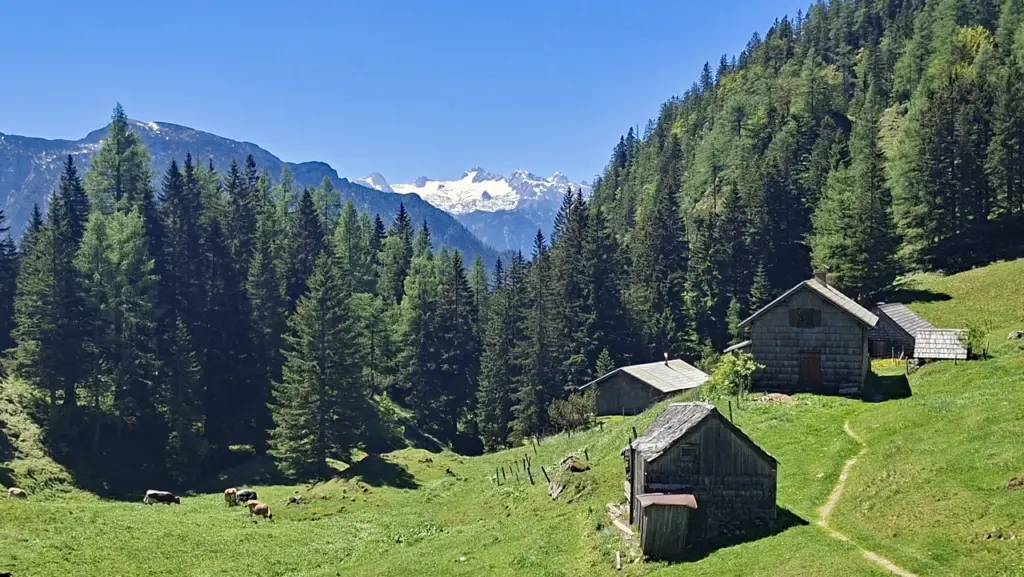
After successfully completing the via ferrata and the final T3 section that follows, you reach the Vordere Sandlingalm.
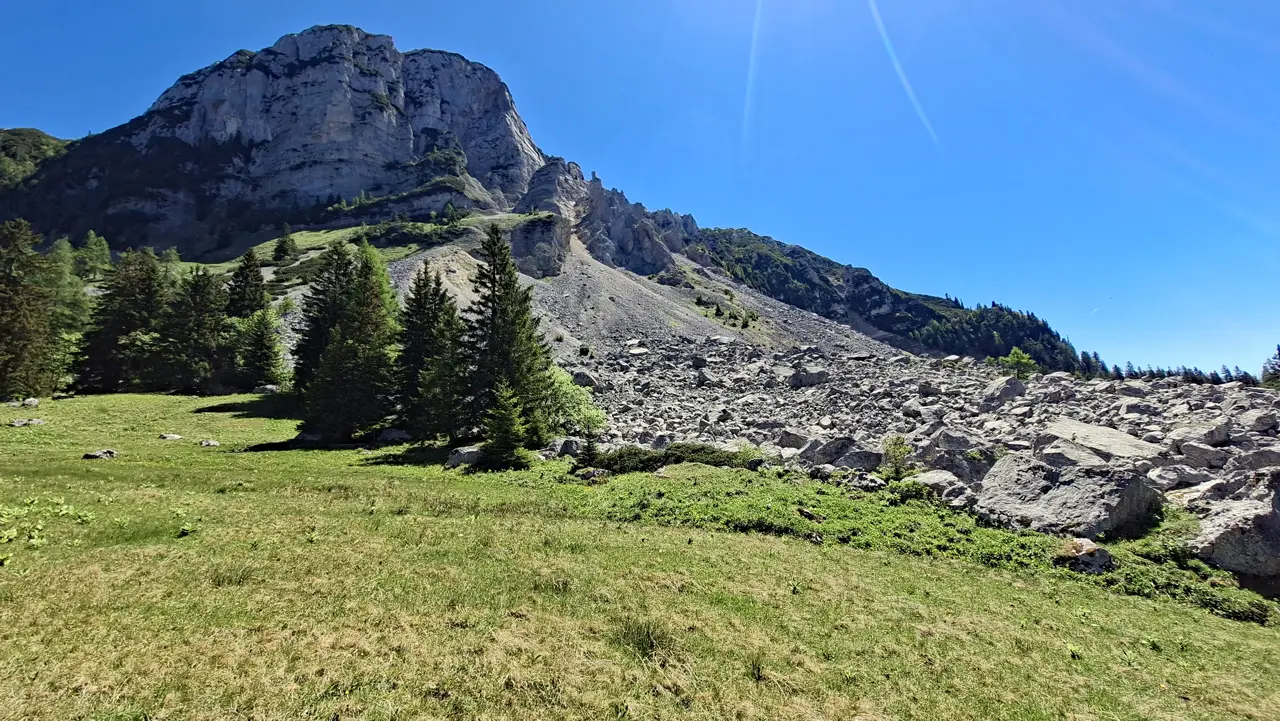
This is also the site of another historic event: in September 1920, a massive rockslide caused a large section of the Sandling’s western face to collapse, burying several alpine huts beneath millions of cubic metres of limestone.
Descent Back to Waldgraben near Lupitsch
Now follow trail no. 250 southwards into the forest, always following the signposts towards Lupitsch.
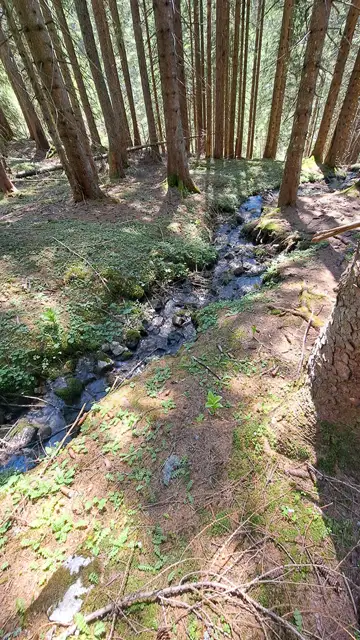
After descending for a while, the still partly steep T2 trail runs directly alongside the Sandlingbach stream.
At another important junction in the forest—pay close attention here as well—follow the signpost to the left and continue towards Lupitsch.
If you accidentally follow the trail to the right, you may end up descending along the wrong route entirely and eventually find yourself in St. Agatha, far from the car park.
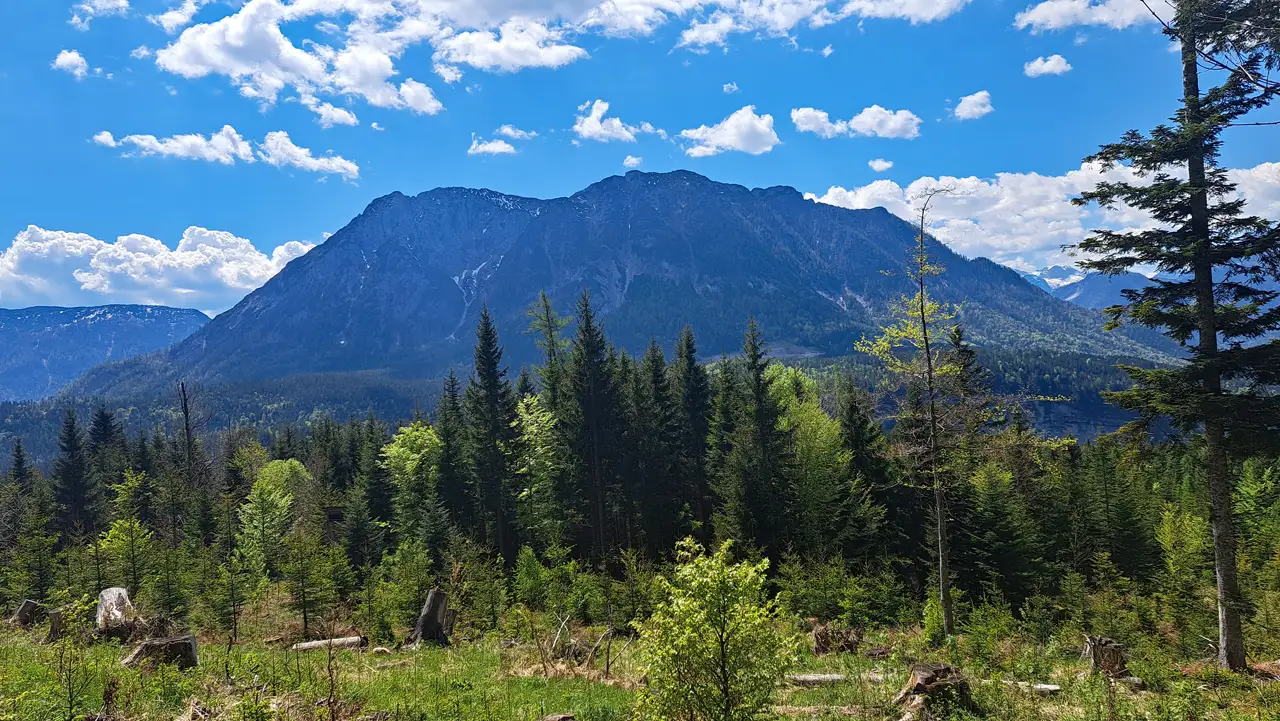
The trail then gradually leads into somewhat flatter sections of forest again.
Further along, you reach a clearing with another magnificent view of the Hoher Sarstein before the trail descends to a forest road.
Full attention is required once again for the final section: as soon as you reach the forest road, turn left immediately and follow it eastwards for some distance.
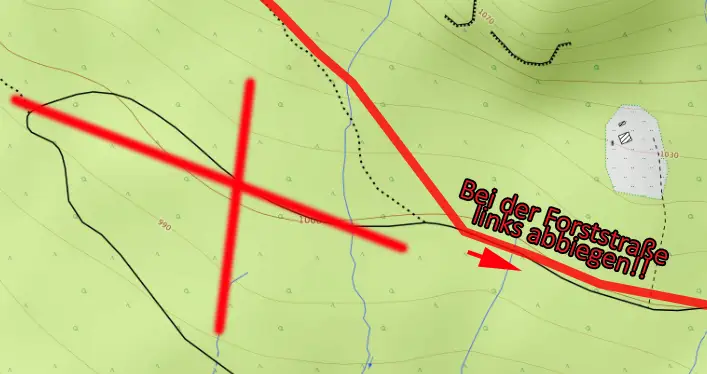
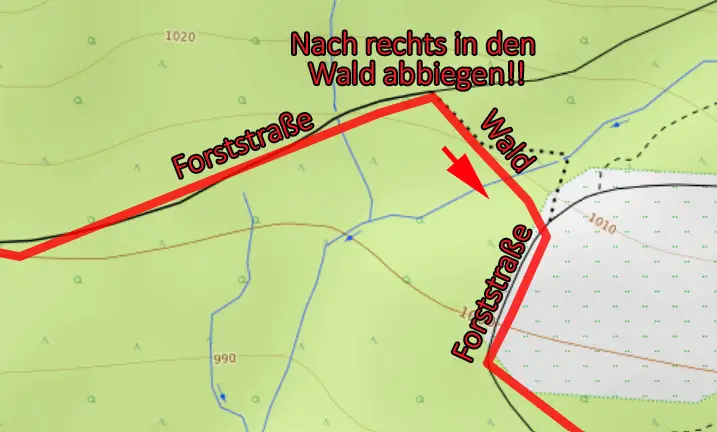
After following the forest road for a while and gaining some additional elevation, a short path branches off to the right through the forest and eventually ends directly beside a house.
Now follow another forest road southwards, descending steeply for a short distance, and turn left at its end.
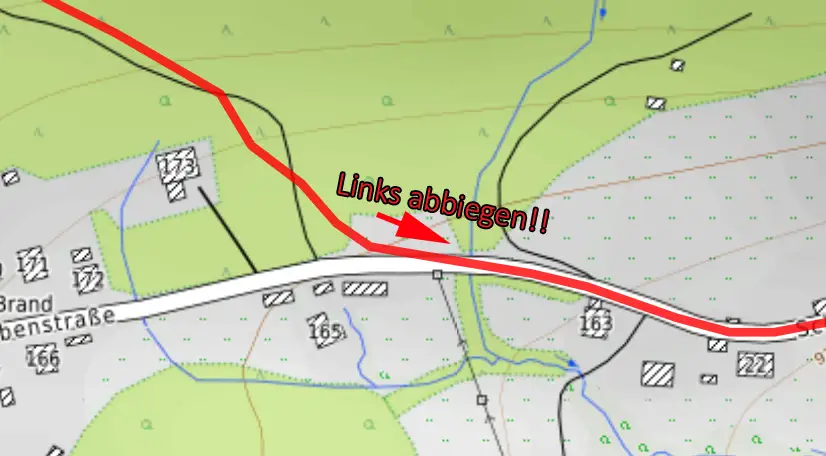
Finally, follow the asphalt road eastwards past several houses and descend the last few metres until you reach the starting point of the tour at Waldgraben.
Sun Exposure
Sun exposure varies several times along this circular route. At the beginning, the route runs south and east of the Sandling through sections that are already exposed to the sun in the morning. There is very little shade, particularly at the Ausseer Sandlingalm on the southern side.
Beyond the alpine pasture, the route moves onto the northern side of the mountain, where the ascent via the normal route is considerably shadier. The rocky plateau, covered only by mountain pines, is once again largely exposed.
With an early start, the via ferrata and the descent to the Vordere Sandlingalm are often still in the shade.
Afterwards, although the route runs mainly through forest, it once again crosses south-facing slopes. By midday or in the afternoon, it can become quite warm, especially on the final forest roads and asphalt roads.
Have you already climbed the Sandling, completed the traverse as well, or do you know of an interesting alternative route? Feel free to share your experiences in the comments.
Information about the current trail conditions is always welcome as well.
⚠ Caution: The tour described here is based on my personal experience and assessment at the time of my hike. Conditions, trail surfaces and markings can change at any time. The provided GPX track is intended for orientation only.
The tour should therefore only be attempted if your technical skills and physical fitness are sufficient for it. Assessing the current conditions and deciding whether to proceed is your own responsibility. Overestimating your abilities can quickly become dangerous in alpine terrain.